INTRODUCTIONTheme Shortcodes
Before you start creating a page, make sure to check how our editor Bold Builder works – 4. Creating Pages and Posts. First you need to add a section, then a row, columns and finally elements (shortcodes) listed in the following chapter.
SECTION 01Accordion
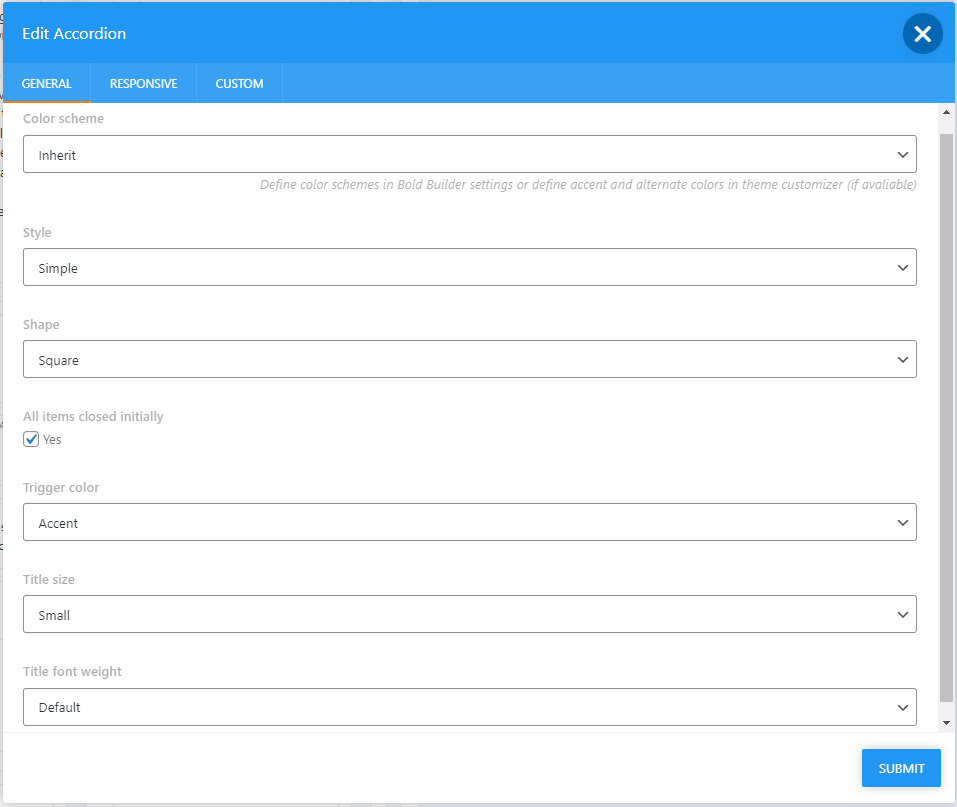
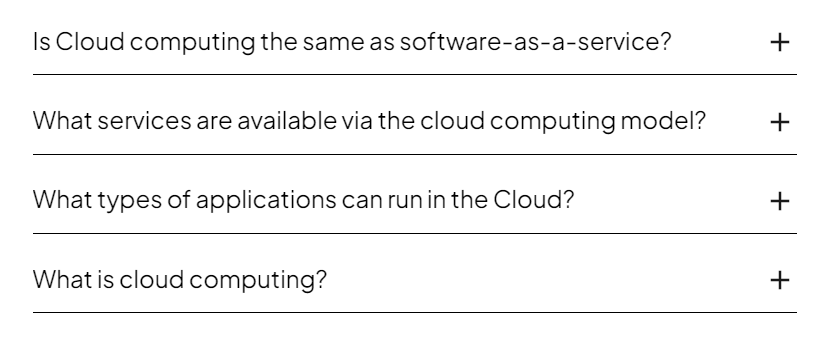
Once you add Accordion element, make sure to add Accordion Item:
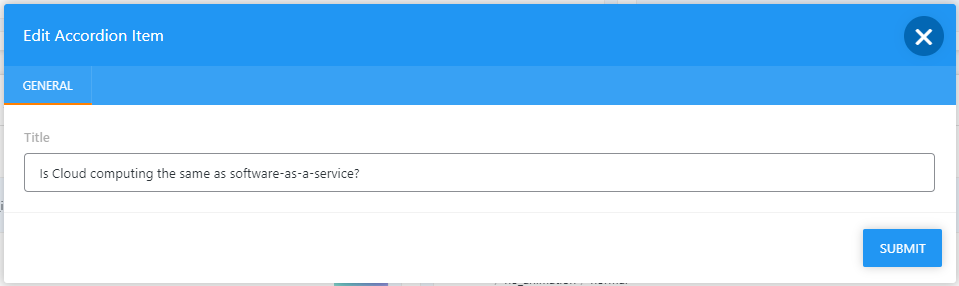
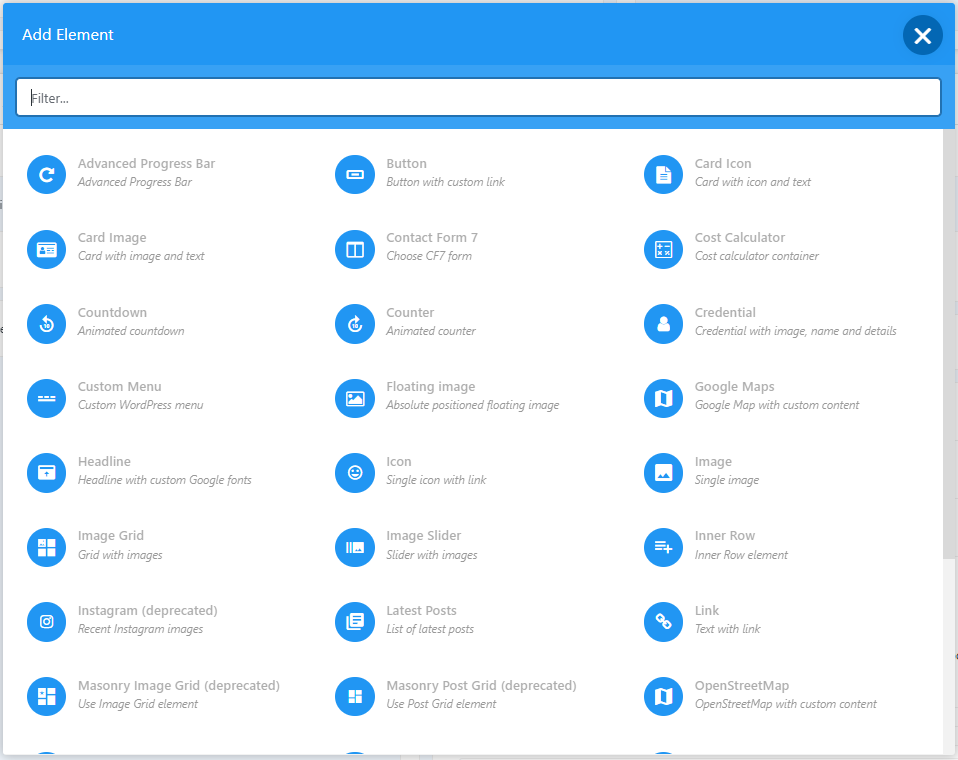
Below is the list of elements that can be added to Accordion Item:
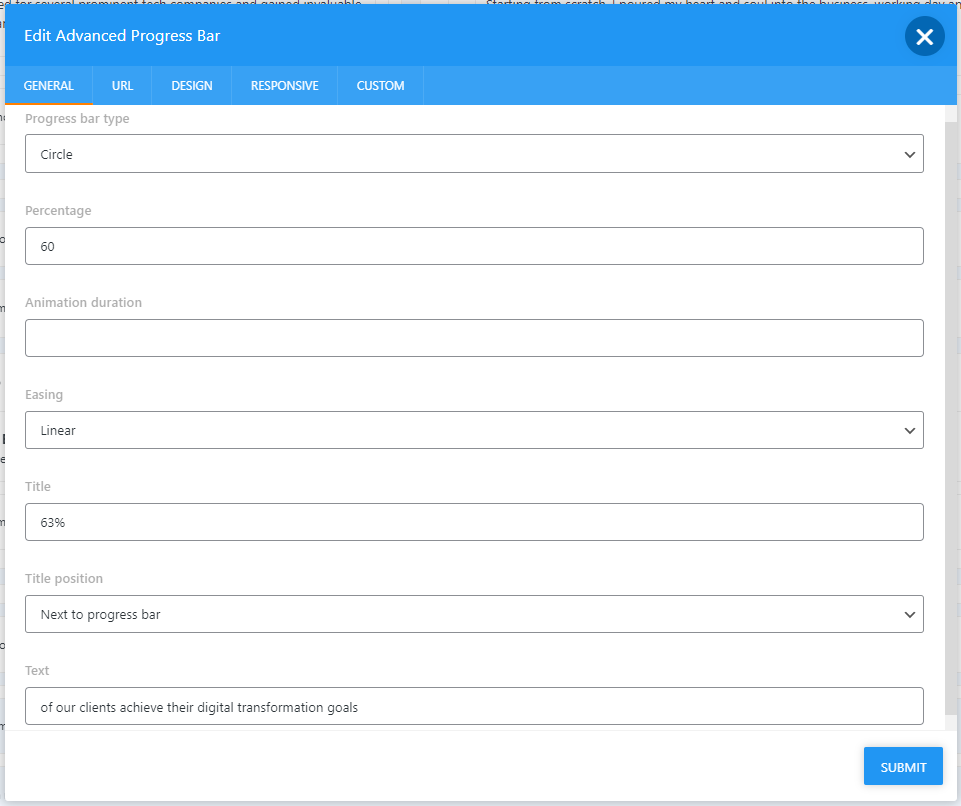
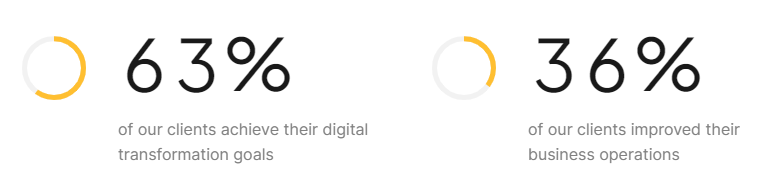
SECTION 02Advanced Progress Bar
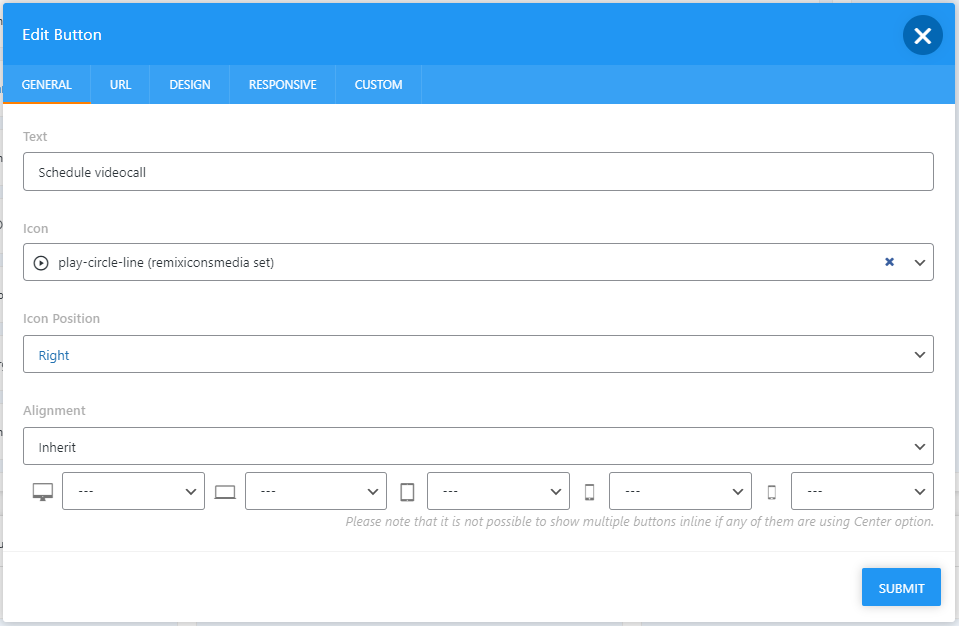
SECTION 03Button

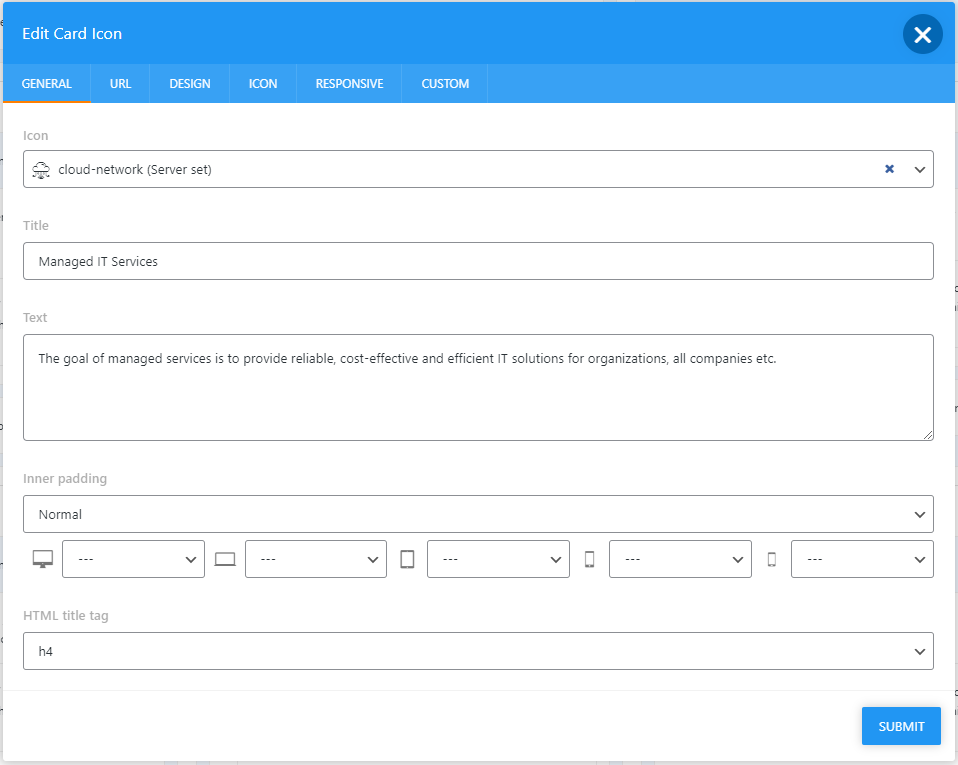
SECTION 04Card Icon

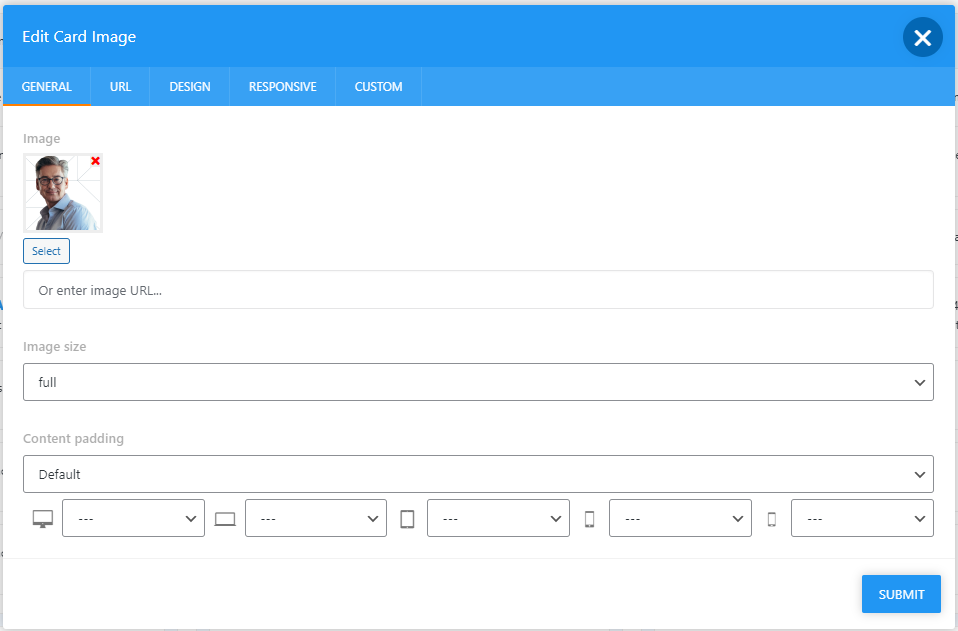
SECTION 05Card Image

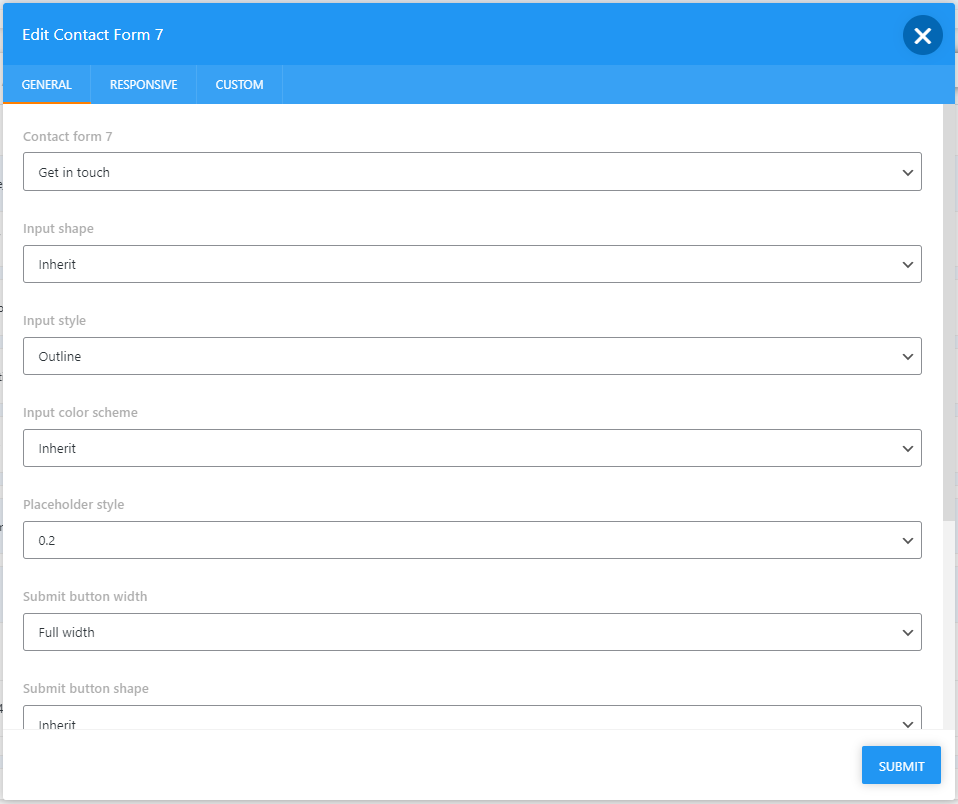
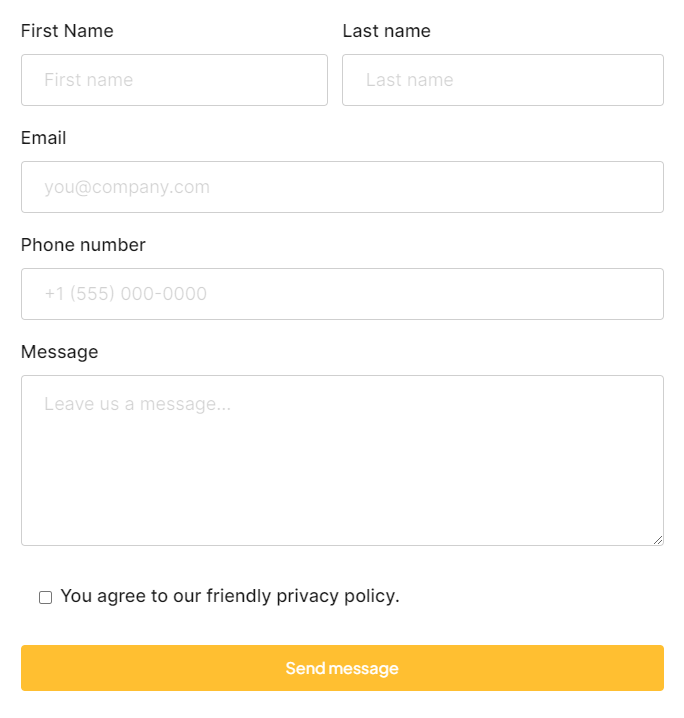
SECTION 06Contact Form 7
SECTION 07Cost Calculator
Documentation on Cost Calculator plugin can be found on the following link.
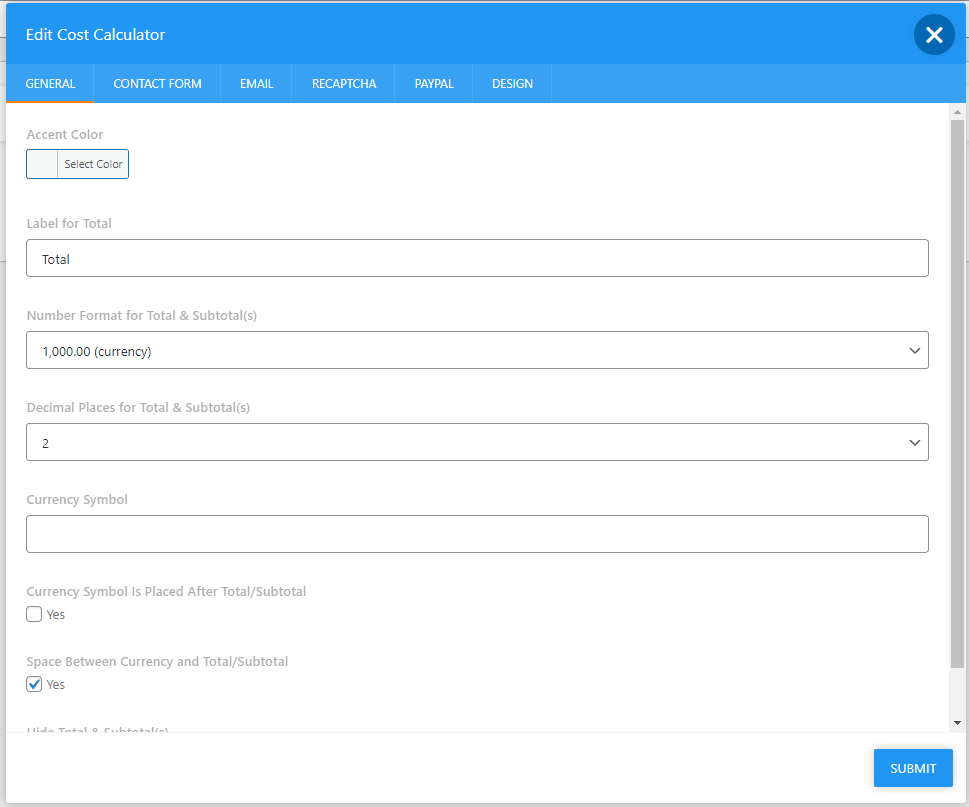
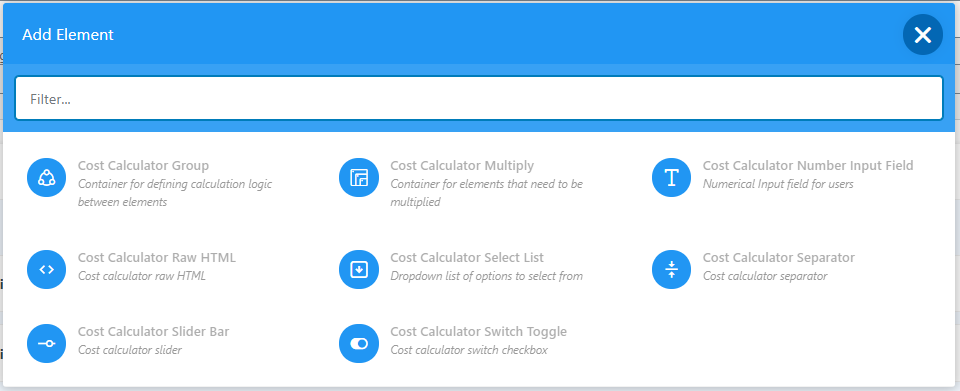
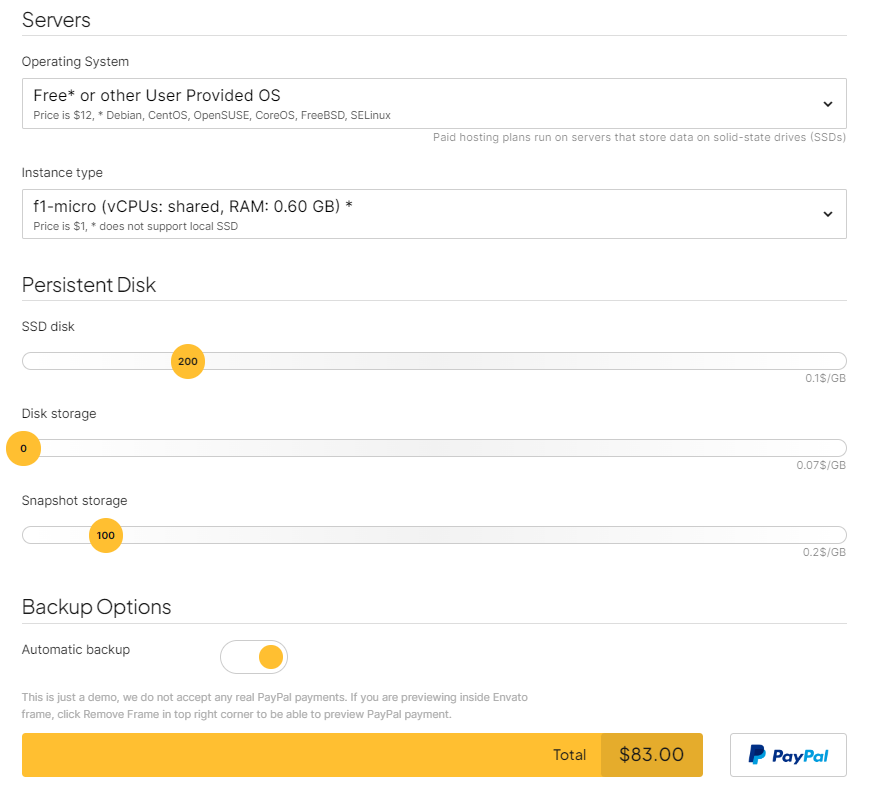
Cost Calculator can include:
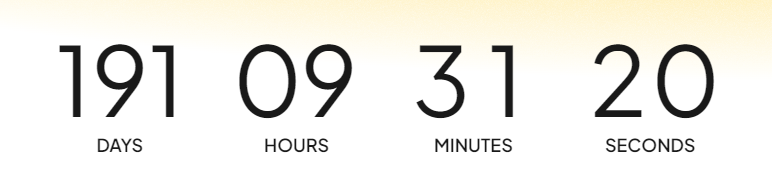
SECTION 08Countdown
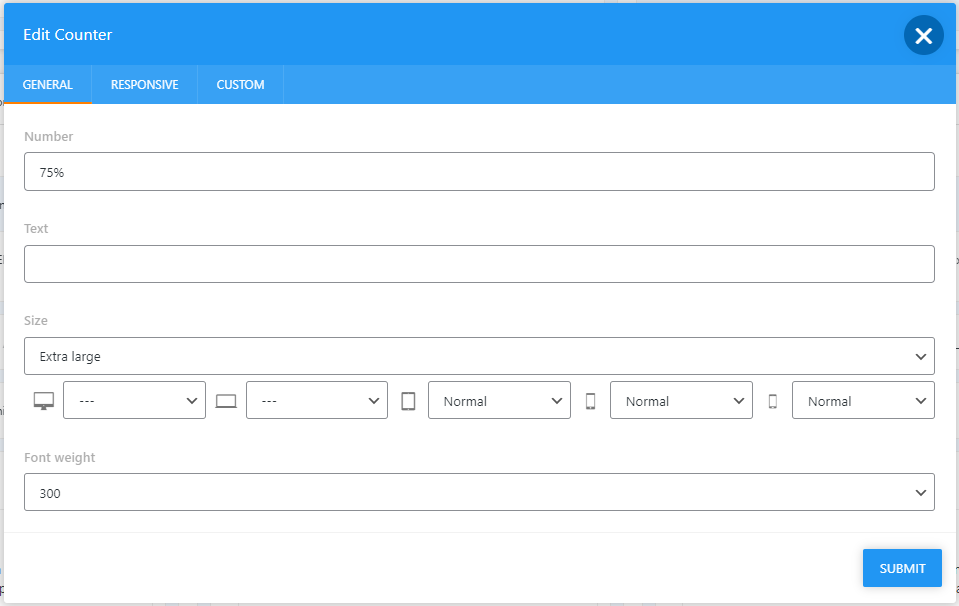
SECTION 09Counter

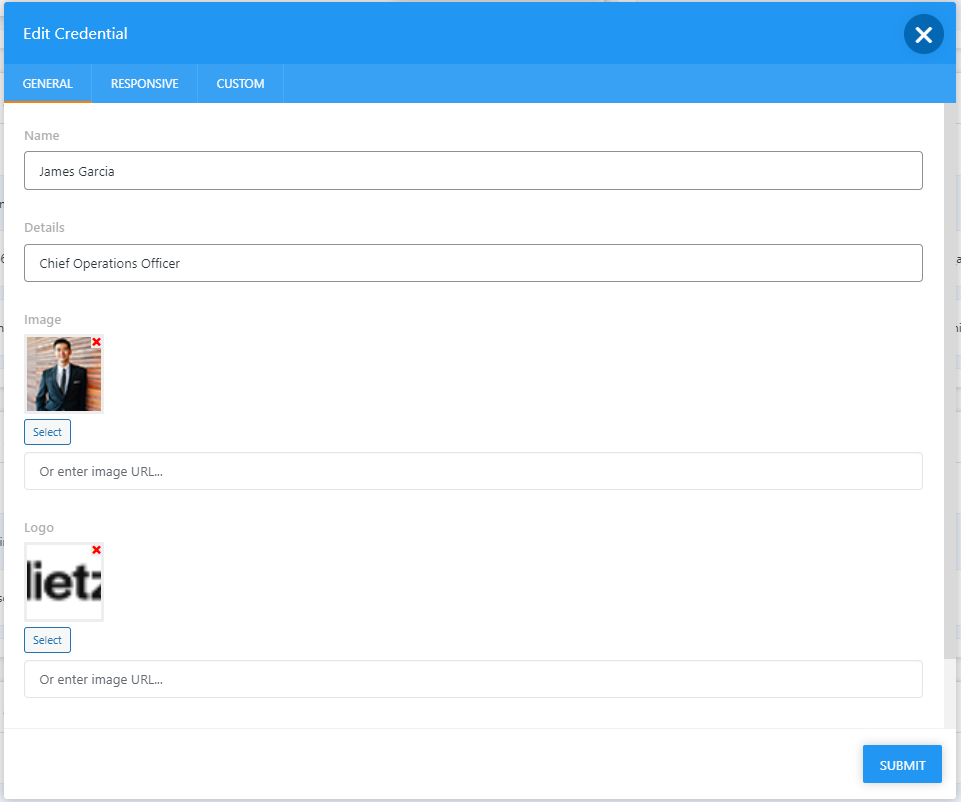
SECTION 10Credential

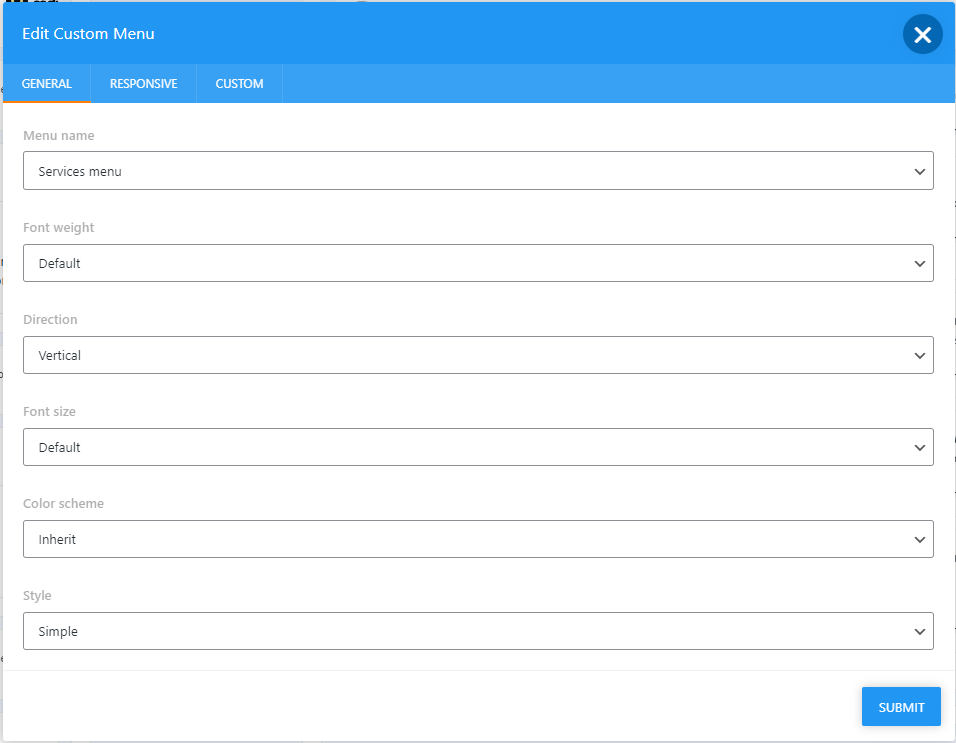
SECTION 11Custom Menu

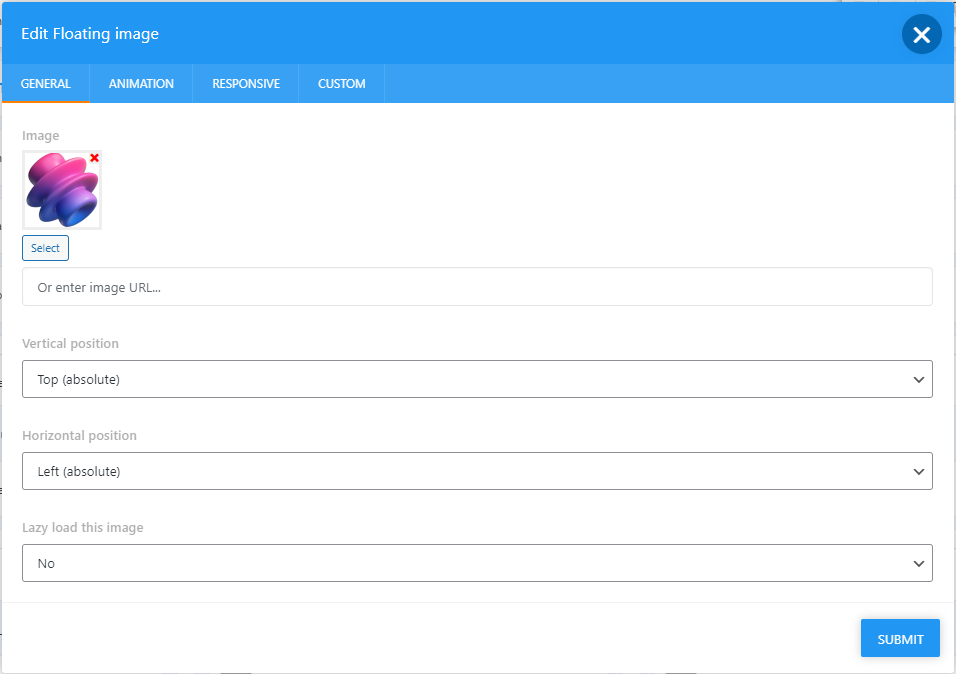
SECTION 12Floating Image

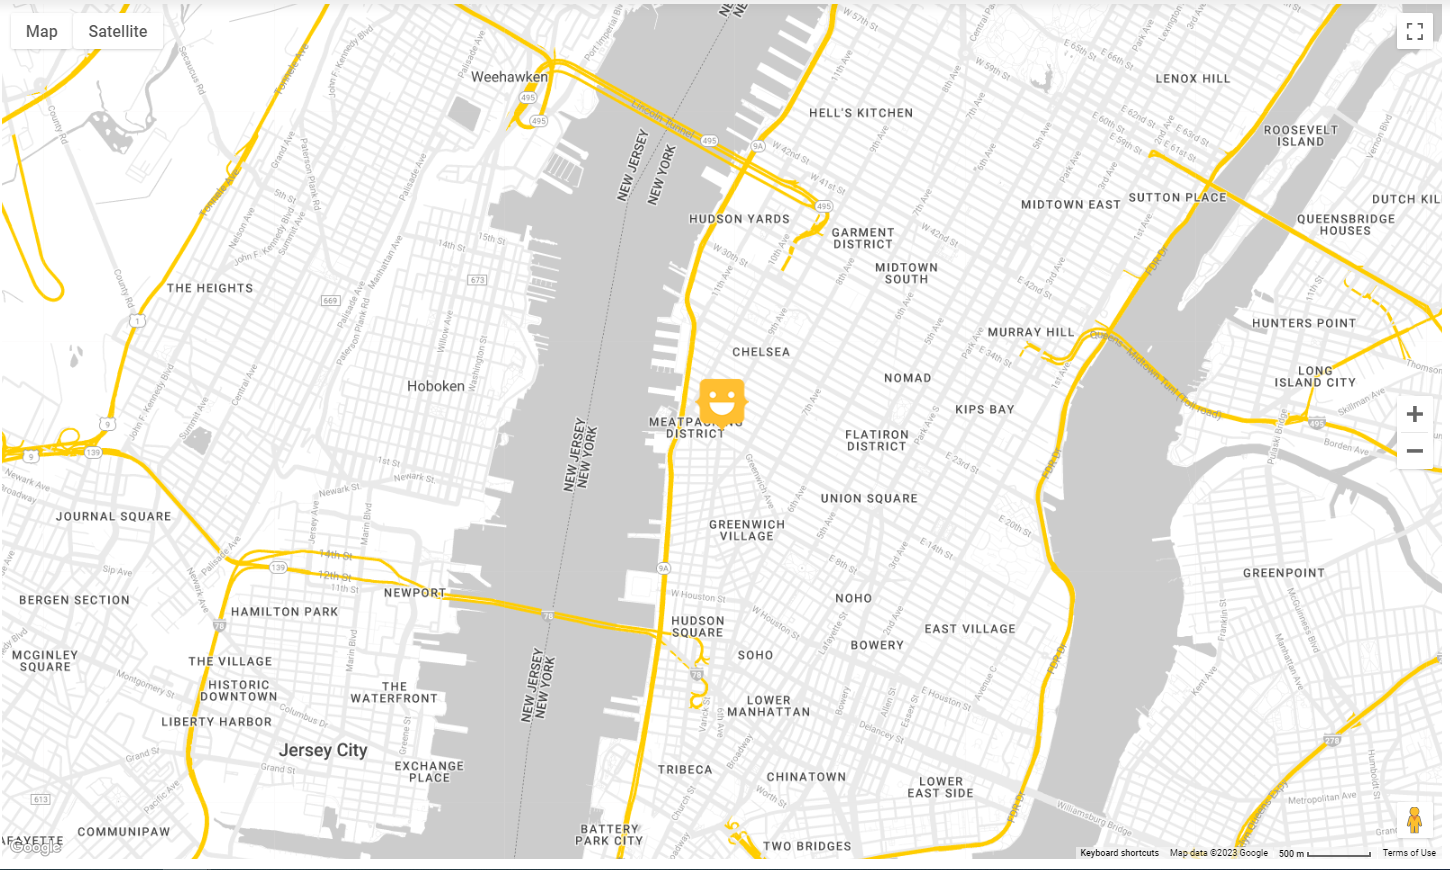
SECTION 13Google Maps
Google maps require an API key for site domains. Follow the next steps:
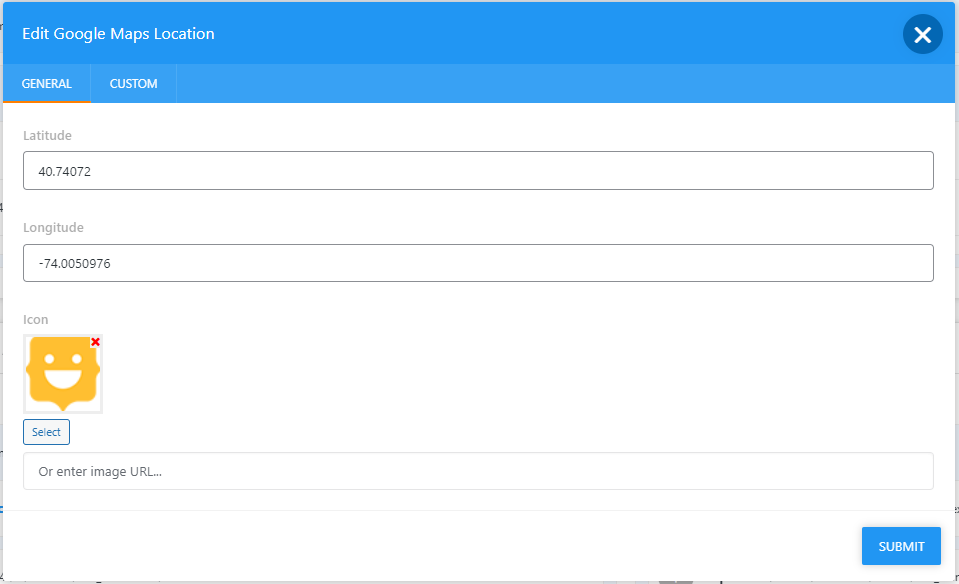
- First step is to get location’s longitude and latitude. This article explains how – Find or enter latitude & longitude.
- When the location is added, please Get your API key.
- Then locate the Google Map element in Bold Builder and enter your API key.
On Snazzy Maps are available all kinds of Google Map styles. The required map code is possible to add to the Custom map style array field.
*Google has, starting July 16, 2018, made certain API and billing changes. In order to enable billing, you will need to provide credit card or billing account to Google Maps platform. Please note that we are in no way associated with Google Maps and their payment system and for any questions and issues regarding payments and billing you will need to contact them. Please refer to their FAQ and their documentation to learn more about these changes.
For all the latest features and changes in the Google Maps element, please refer to our Bold Builder documentation.
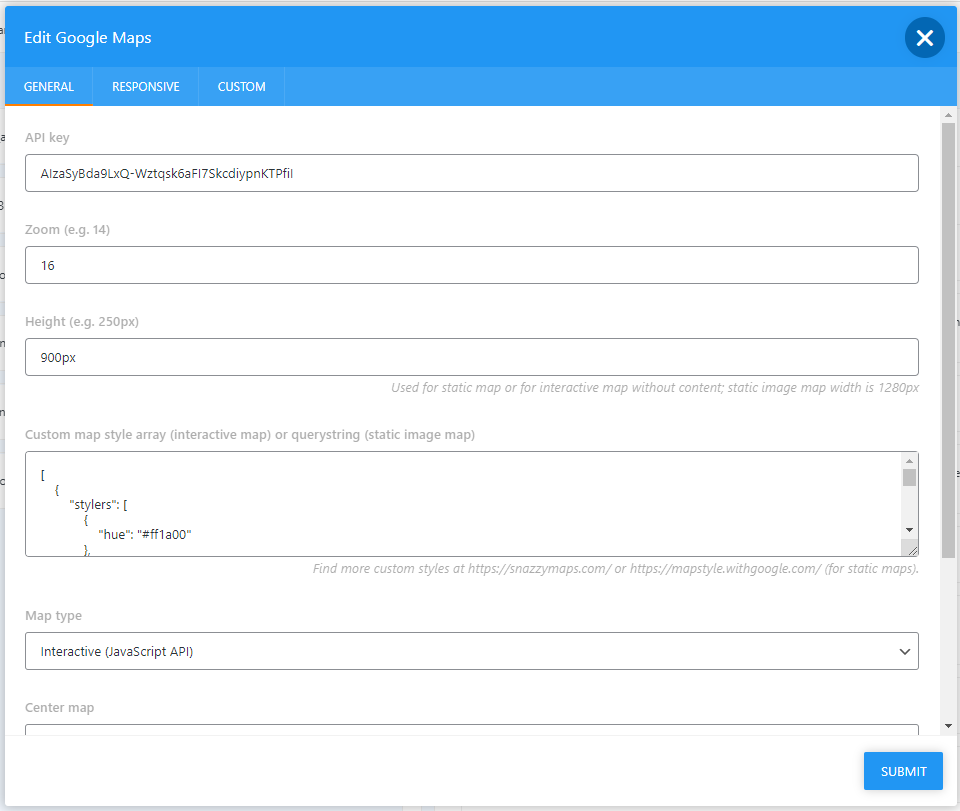
Once you add Google Maps element, make sure to add Google Maps Location (multiple locations available):
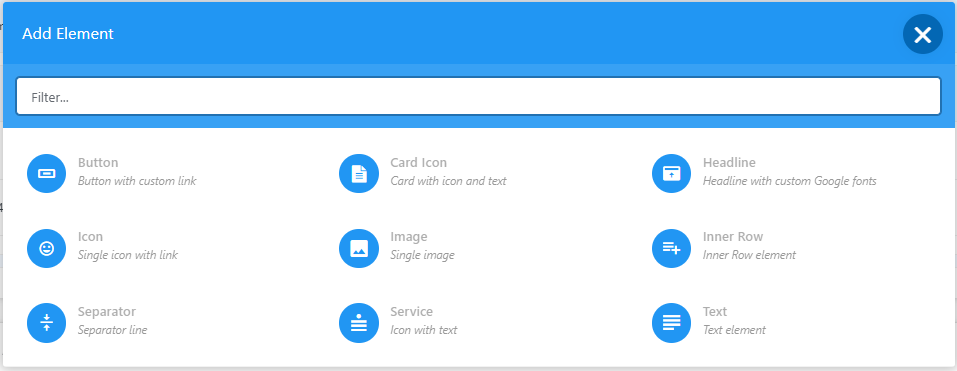
Below is the list of elements that can be added to Google Maps element:
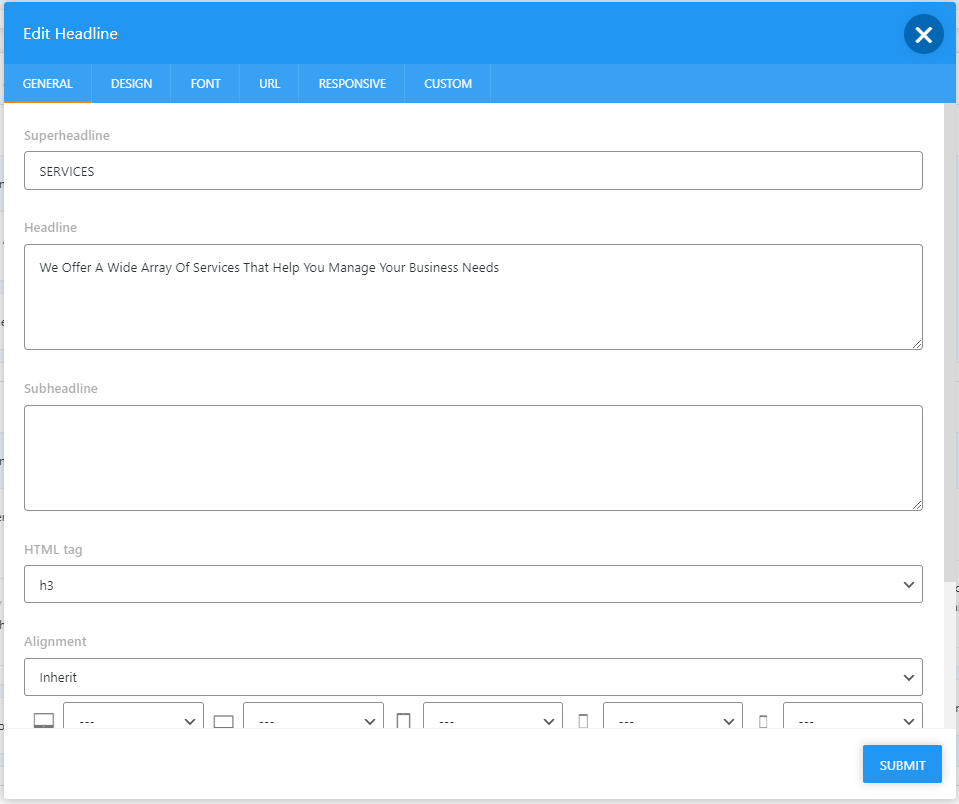
SECTION 14Headline

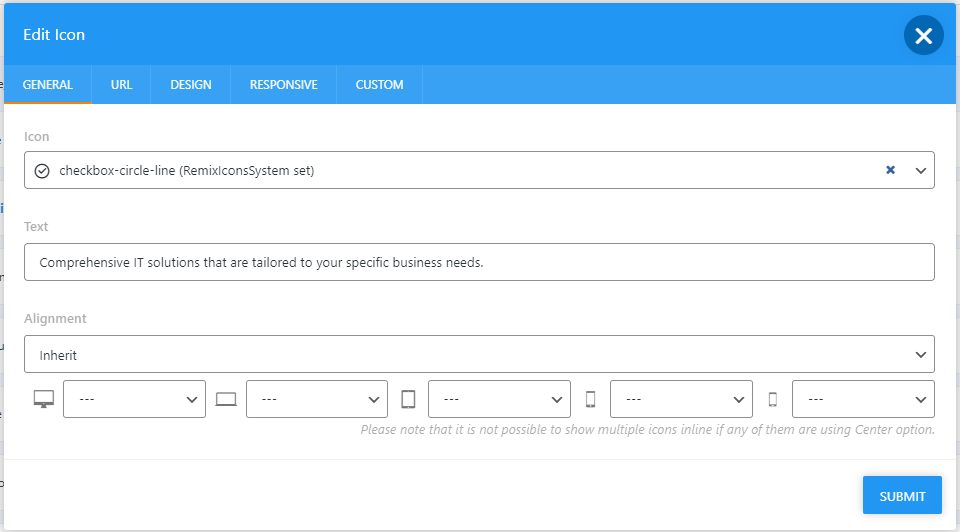
SECTION 15Icon

SECTION 16Image
Recommended image sizes:
- Logo – 170px x 150px;
- Slider image – 1920px x 1100px;
- Hero (background) image – 1920px x 1200px;
- Post’s featured image – 1920px x 1200px;
- Product image – 1200px x 1200px.
*Note that these are the sizes used on our demo.
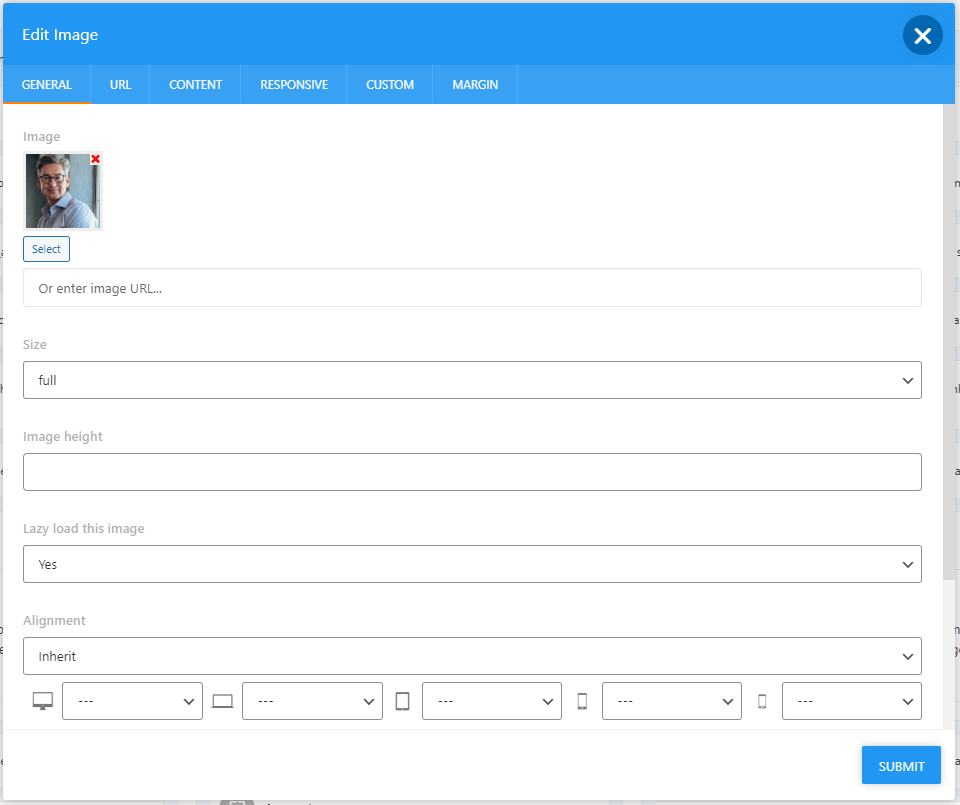
Image element can include:

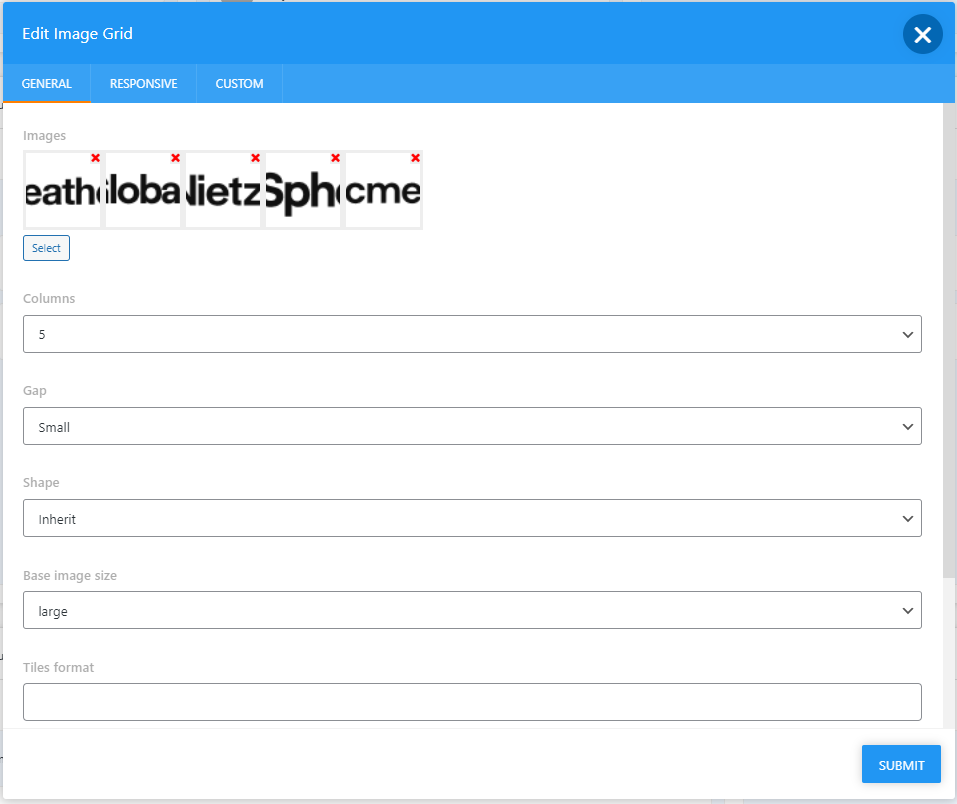
SECTION 17Image Grid

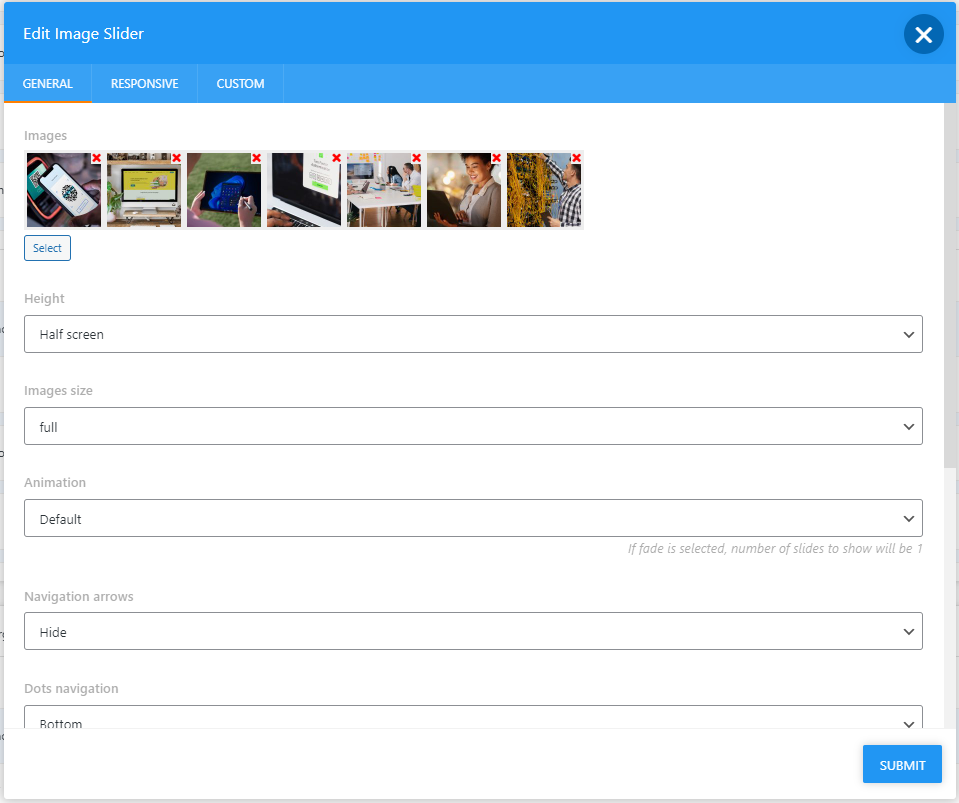
SECTION 18Image Slider

SECTION 19Inner Row
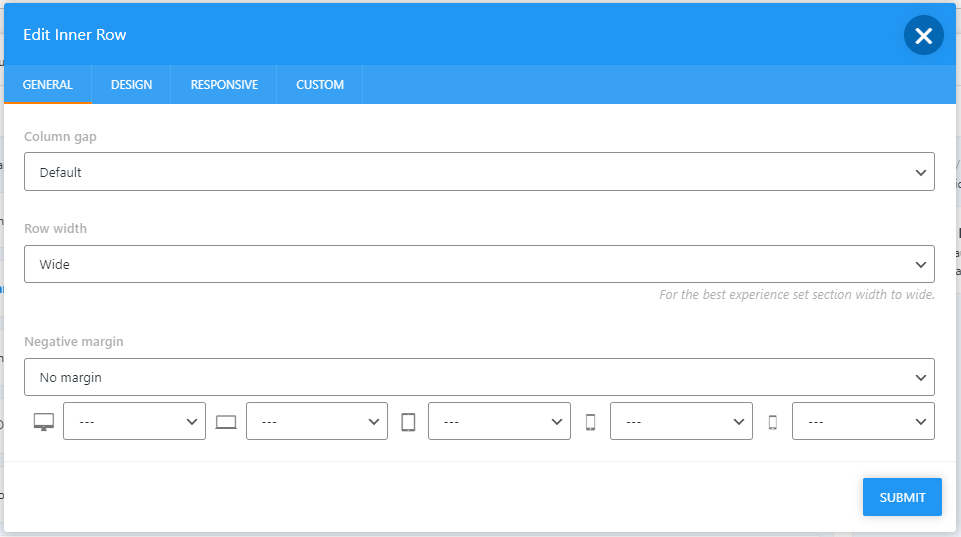
Once you add Inner Row element, make sure to define layout and add Inner Column:
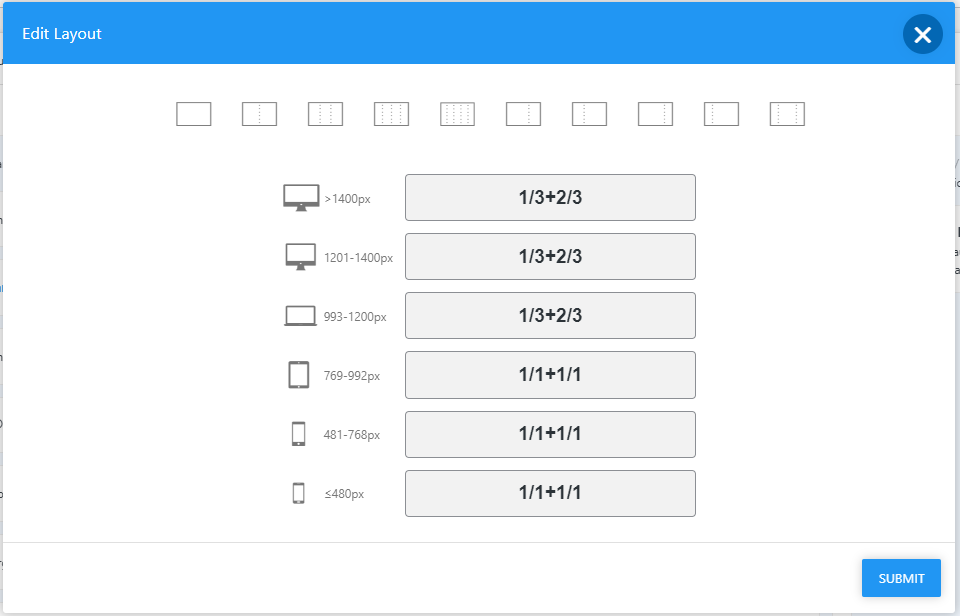
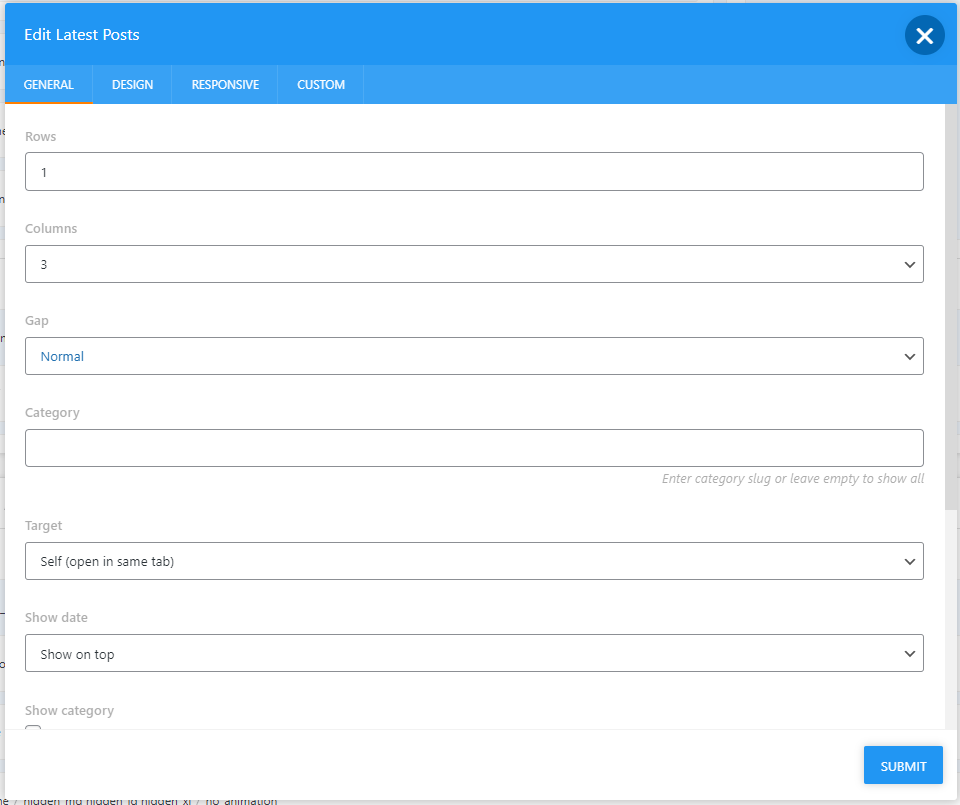
SECTION 20Latest Posts

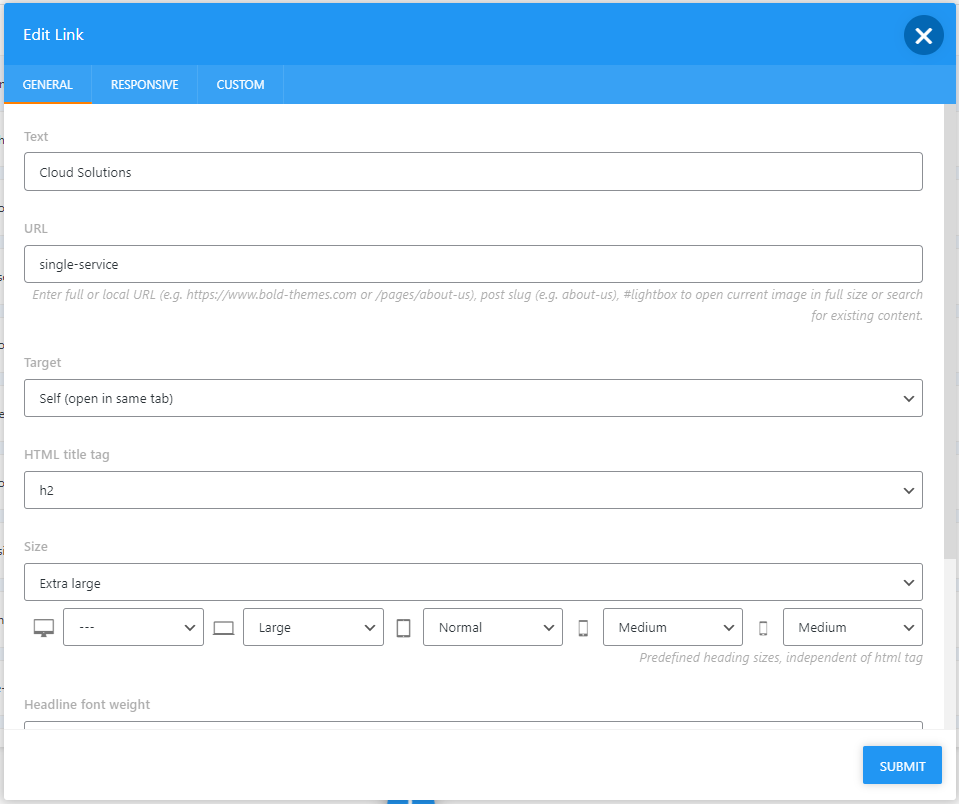
SECTION 21Link

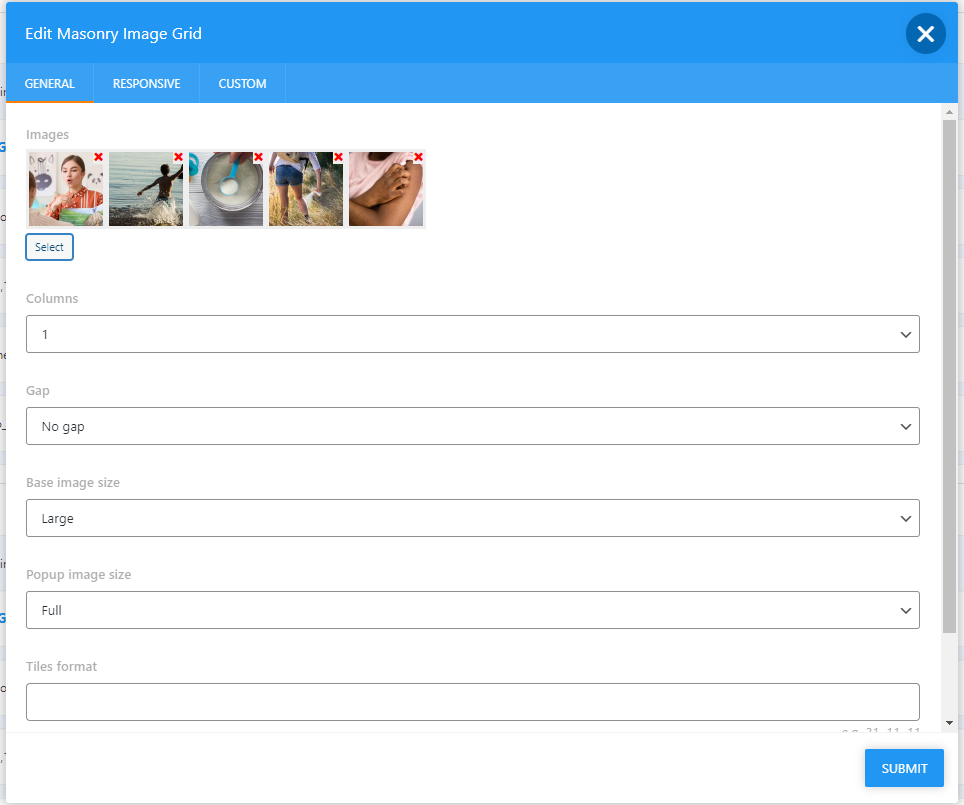
SECTION 22Masonry Image Grid (deprecated)
Please note that this element is deprecated, and no longer in use. We recommend using Image Grid element instead.
SECTION 23Masonry Post Grid (deprecated)
Please note that this element is deprecated, and no longer in use. We recommend using Post Grid element instead.
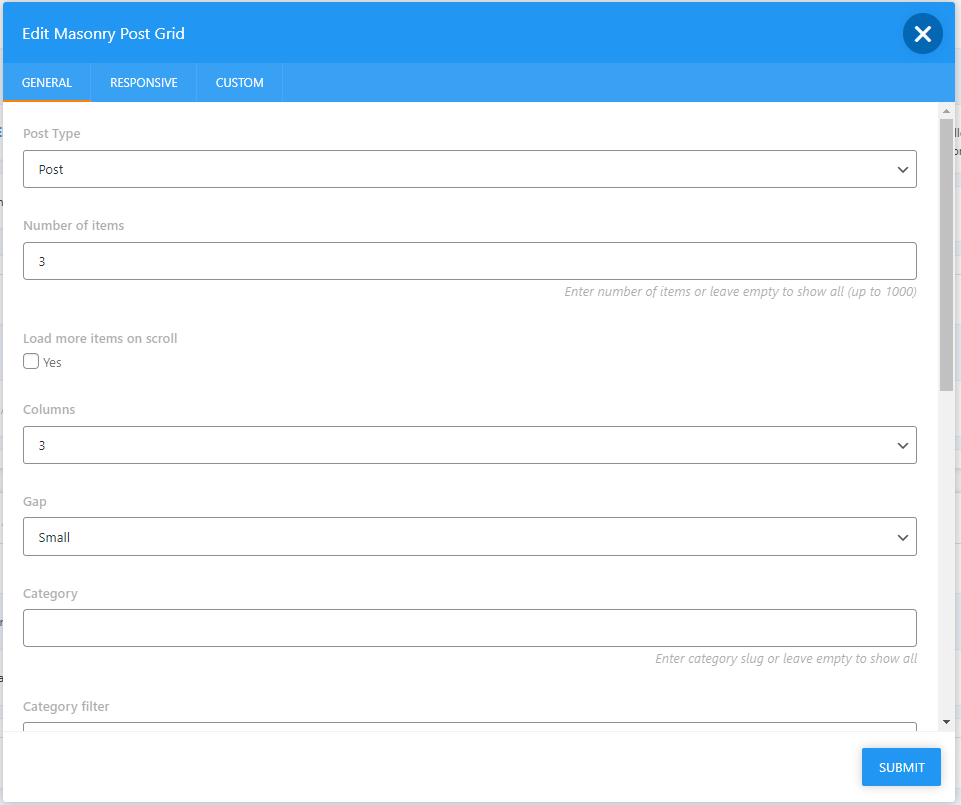
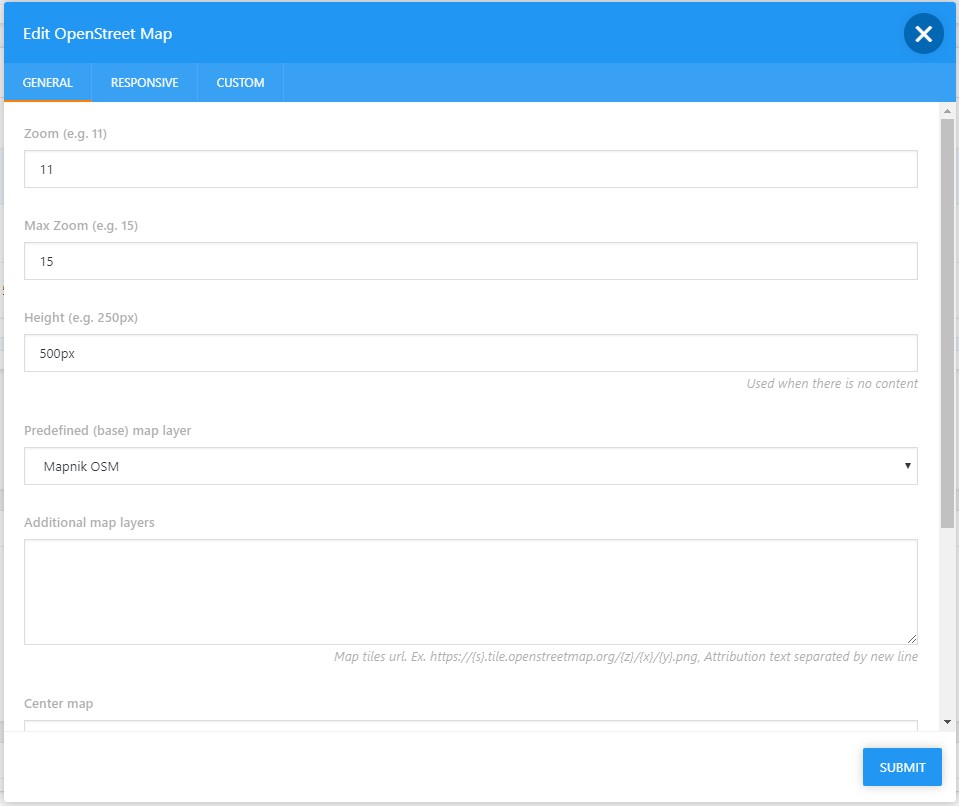
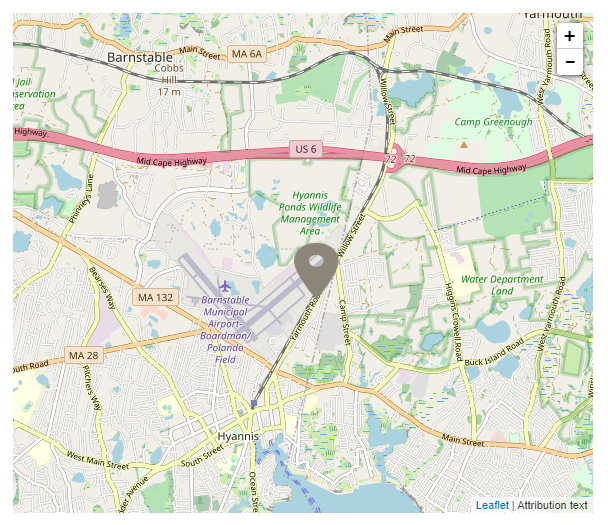
SECTION 24OpenStreet Map
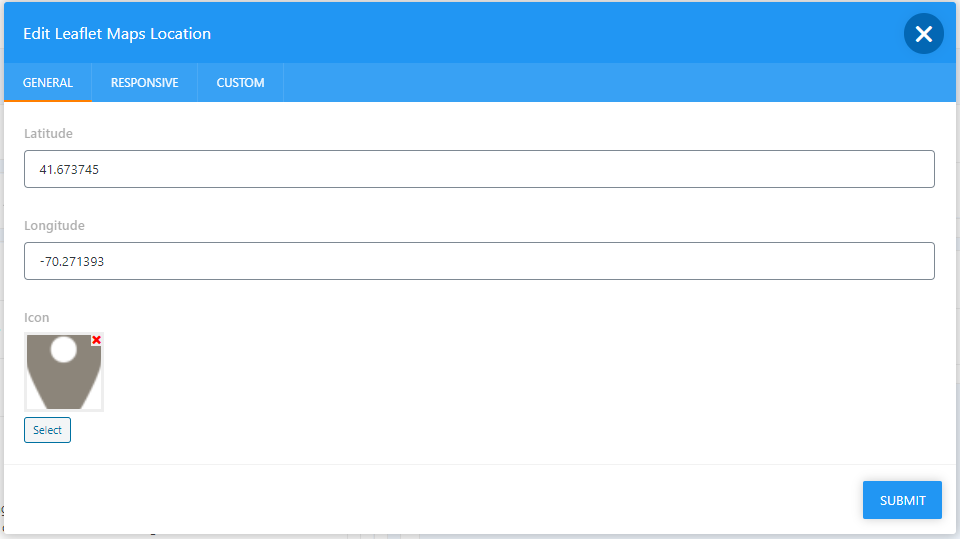
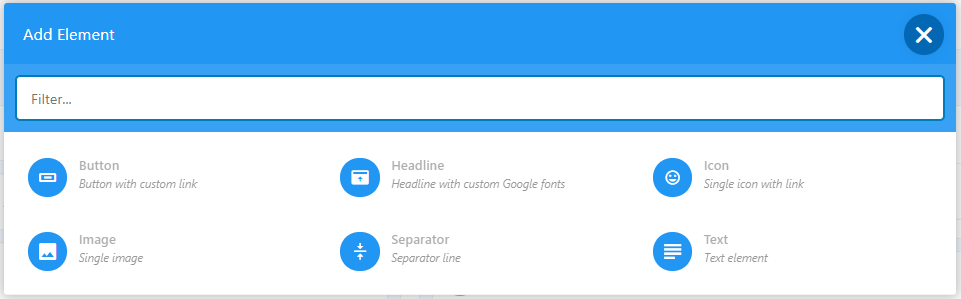
Elements that can be added to OpenStreet Map element.
SECTION 25Post Grid
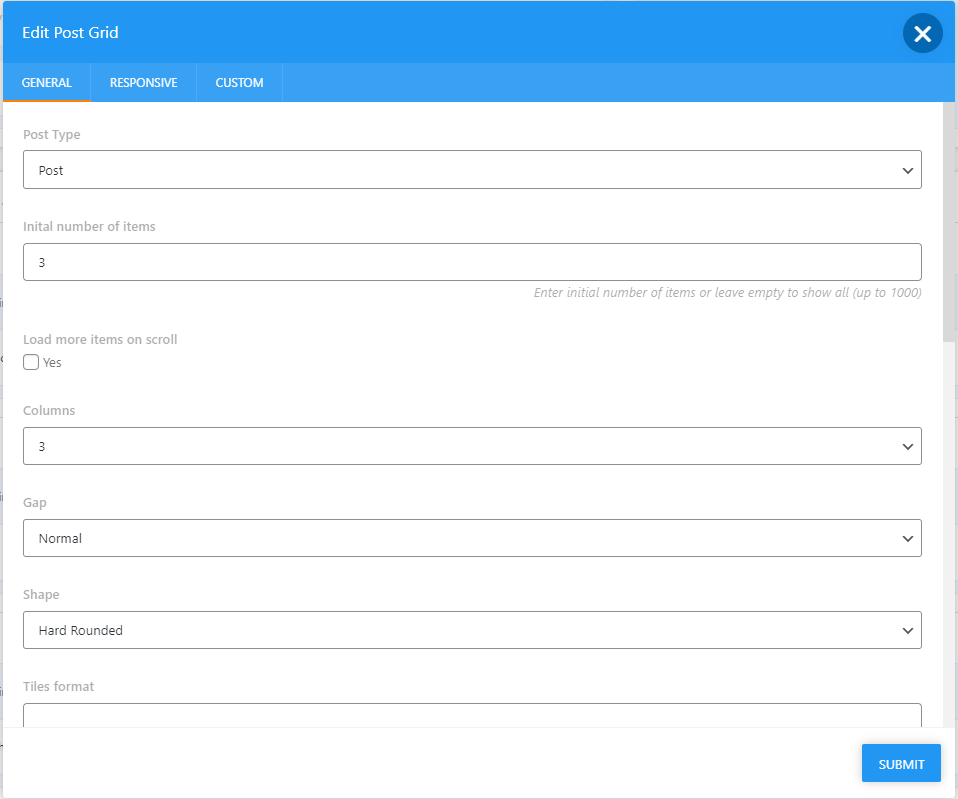

Please note that the page set as the main Blog page in Reading Settings lists posts by default. Post Grid element should not be added to that page.
In order to have blog posts listed as Grid, proceed to create new page and add Post Grid element to it. Set the main Blog page as its Parent page.
SECTION 26Post Slider
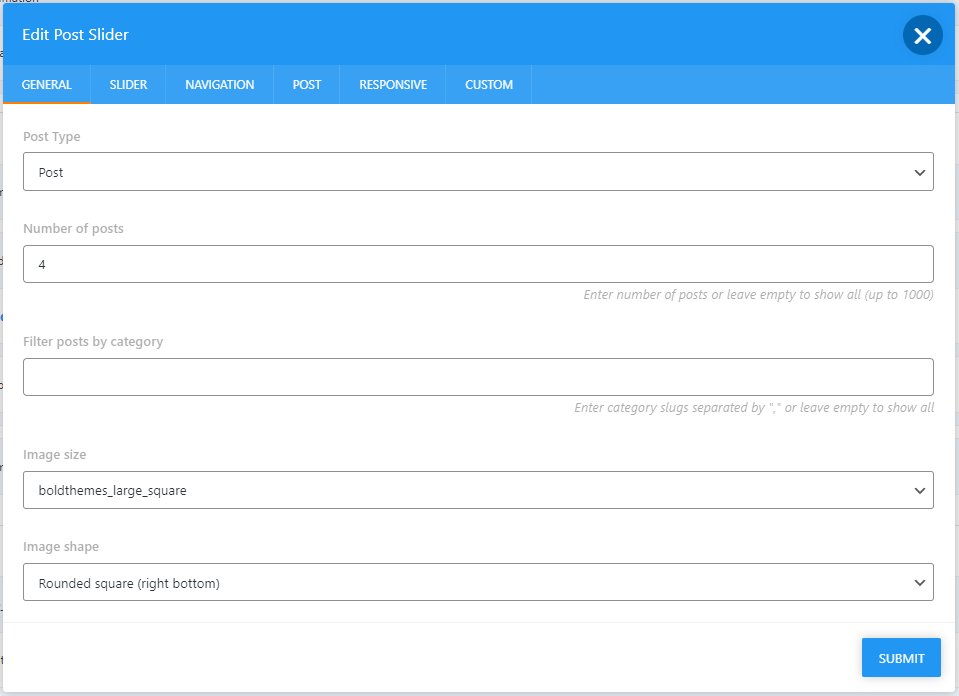

Please note that the page set as the main Blog page in Reading Settings lists posts by default. Post Slider element should not be added to that page.
In order to have blog posts listed as Slider, proceed to create new page and add Post Slider element to it. Set the main Blog page as its Parent page.
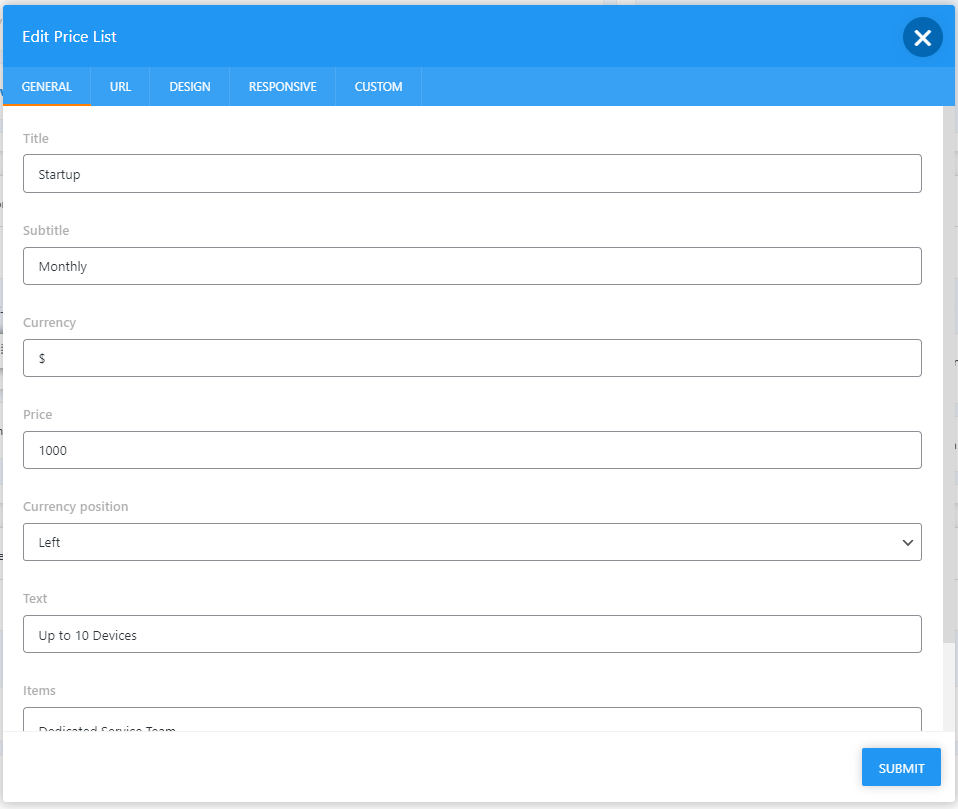
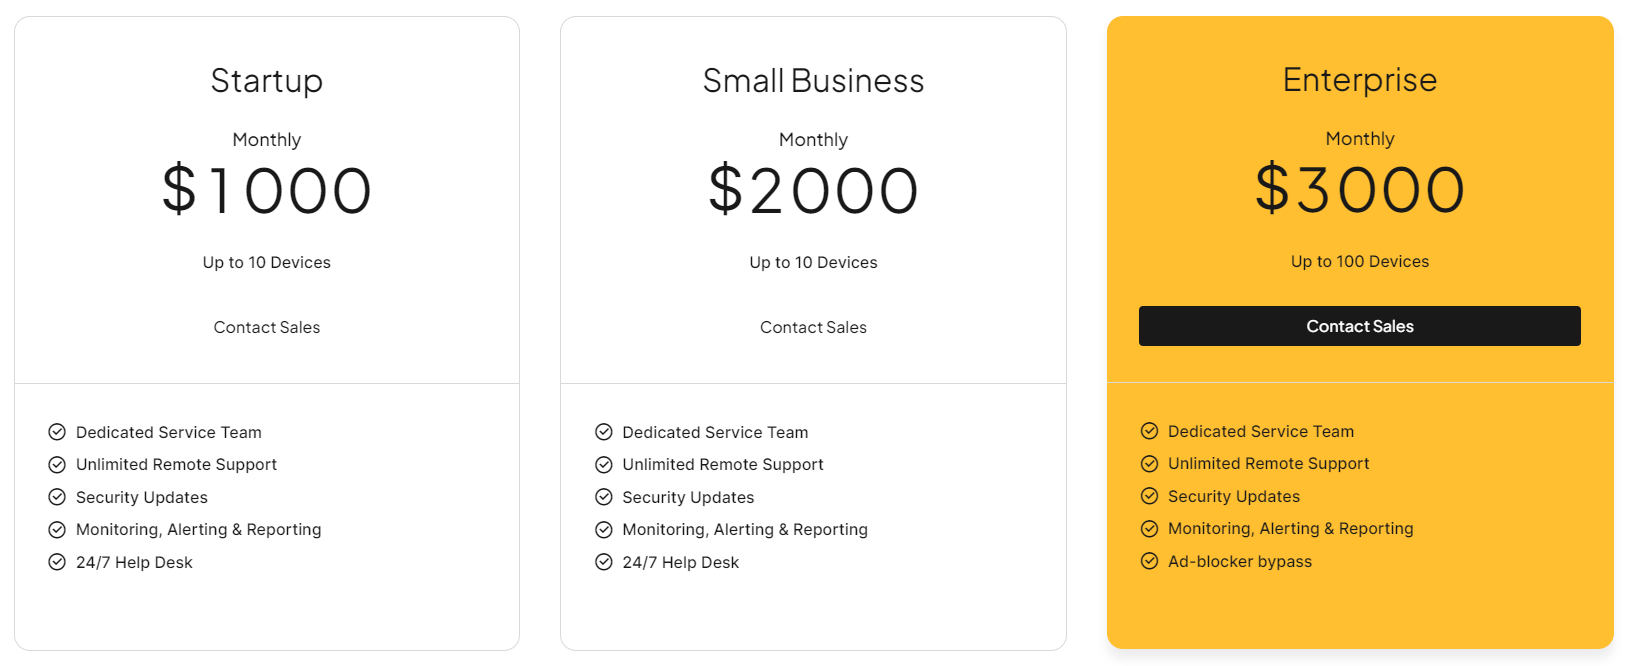
SECTION 27Price List
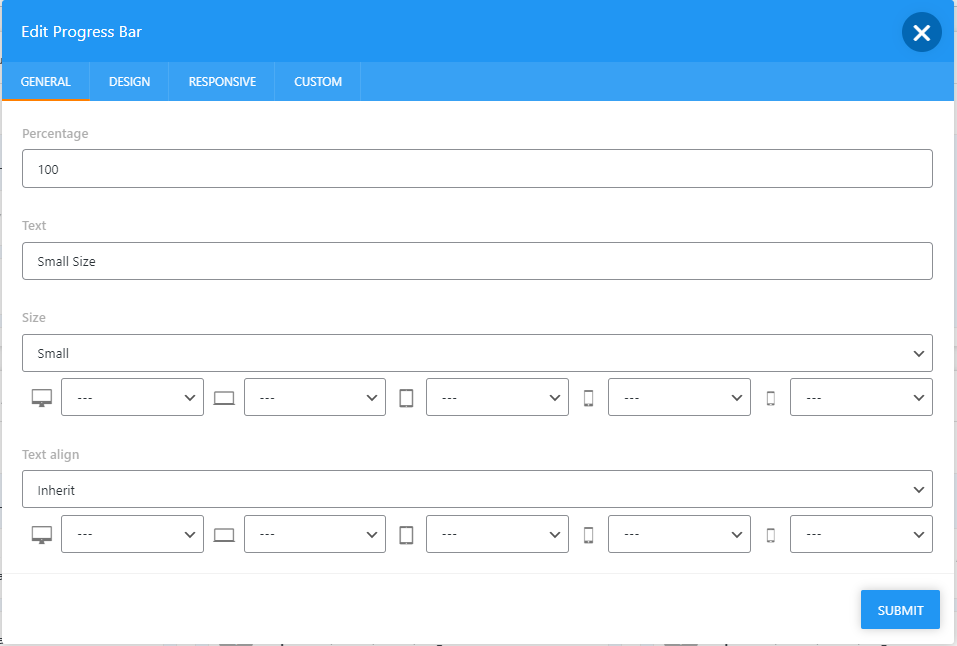
SECTION 28Progress bar

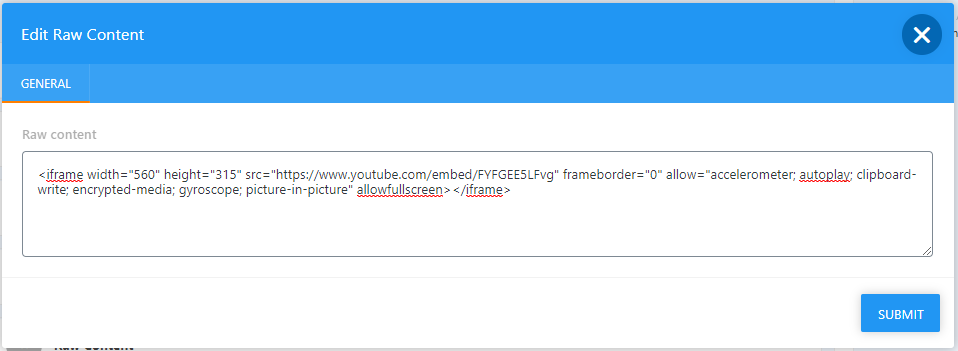
SECTION 29Raw Content
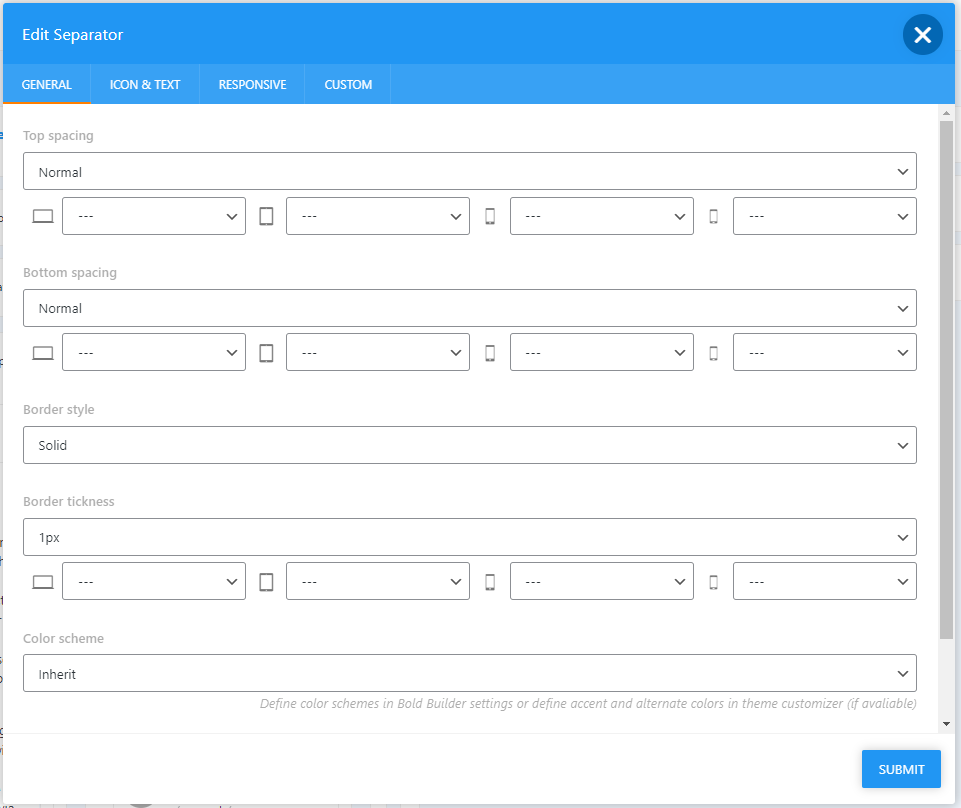
SECTION 30Separator
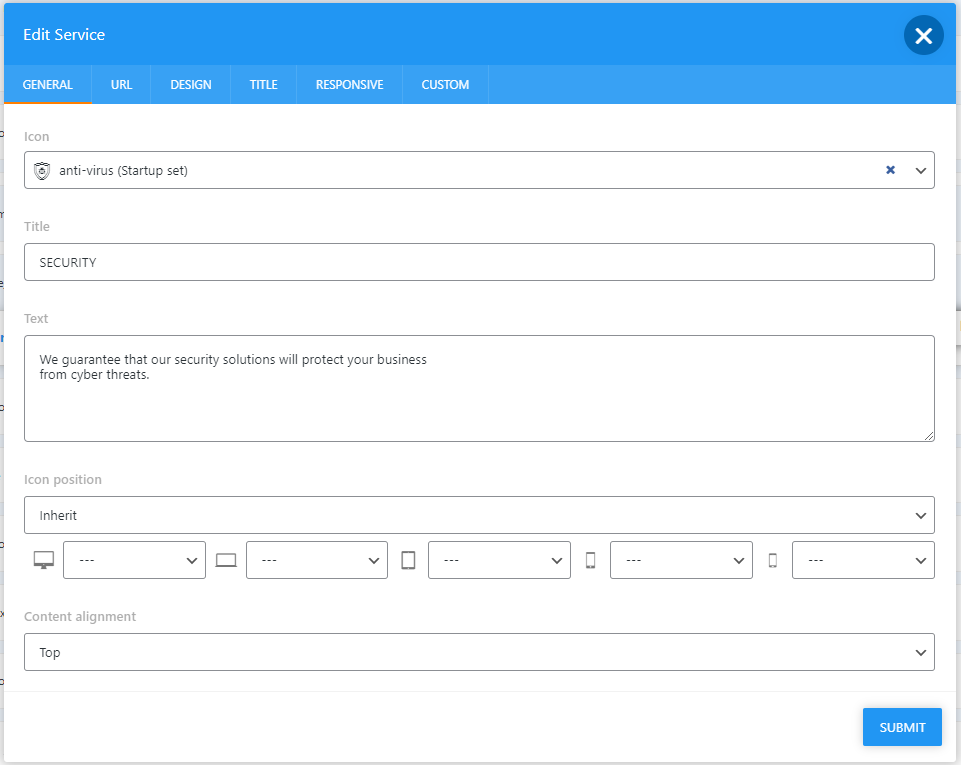
SECTION 31Service

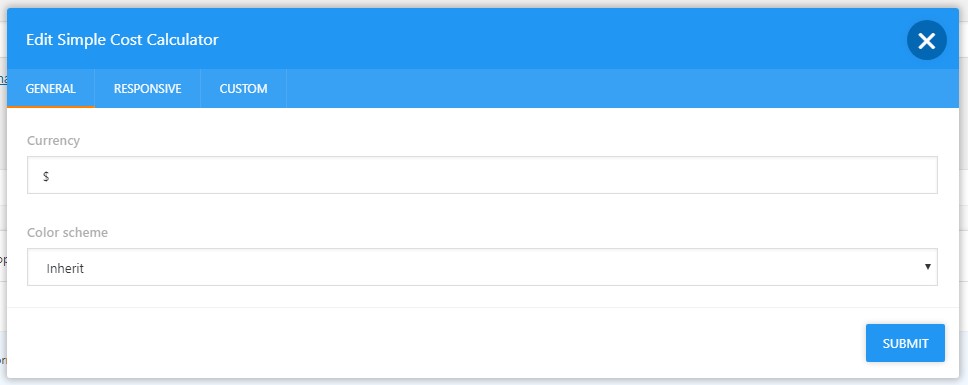
SECTION 32Simple Cost Calculator
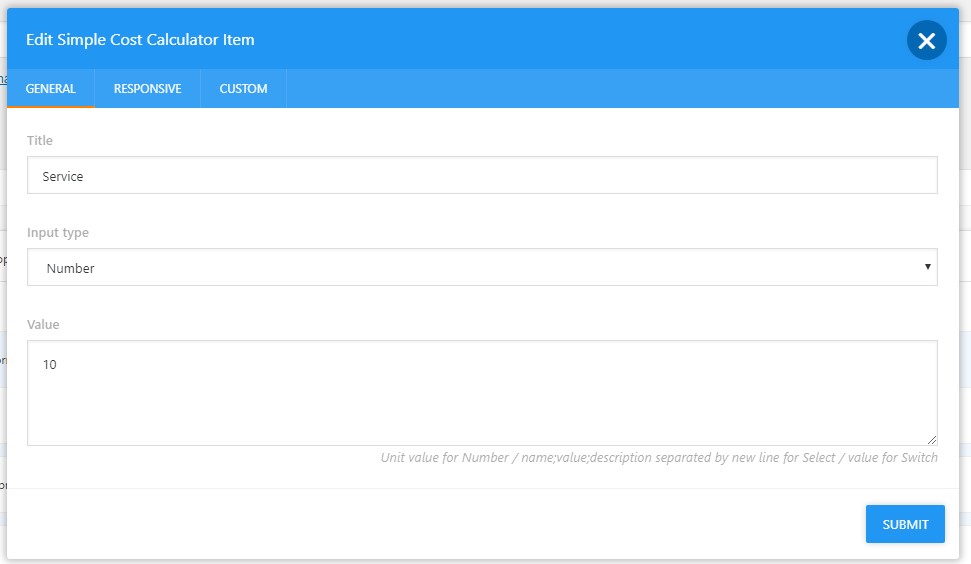
Once you add Simple Cost Calculator, make sure to add Simple Cost Calculator Item:
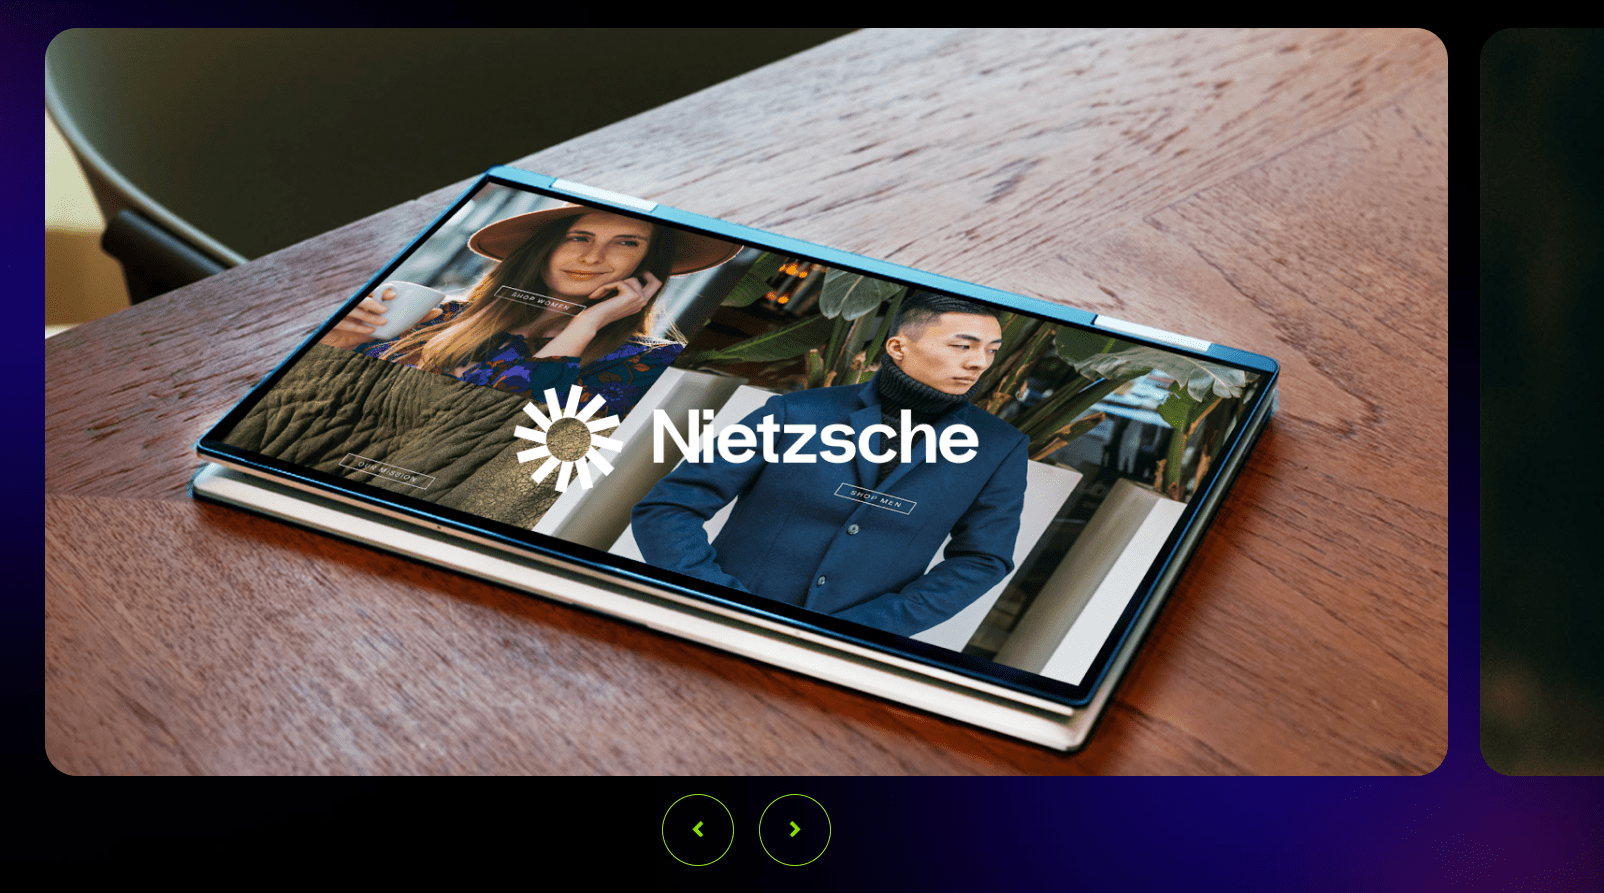
SECTION 33Slider
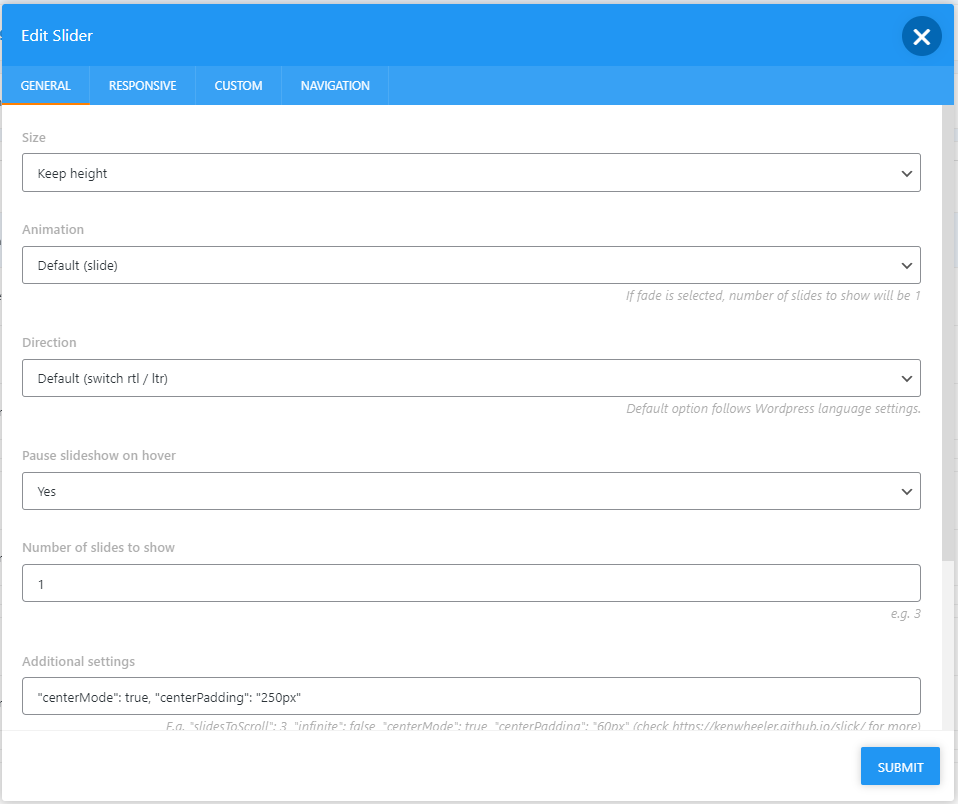
Once you add Slider element, make sure to add single Slider Item:
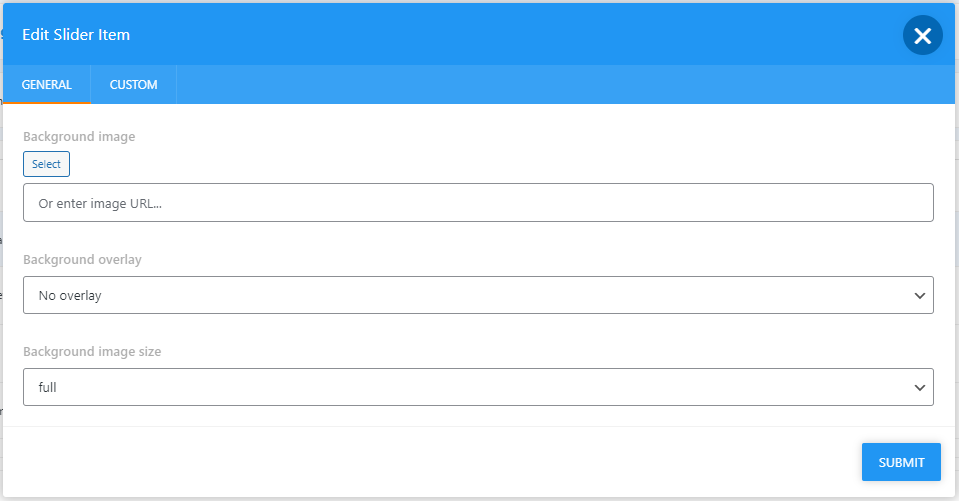
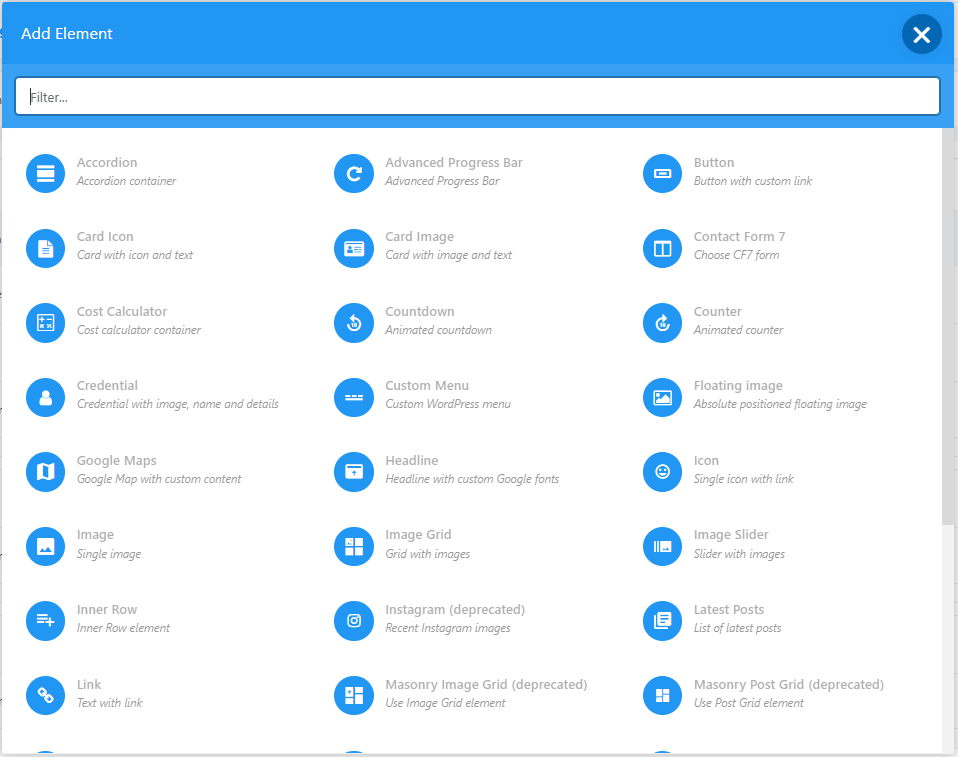
Slider Item can include:
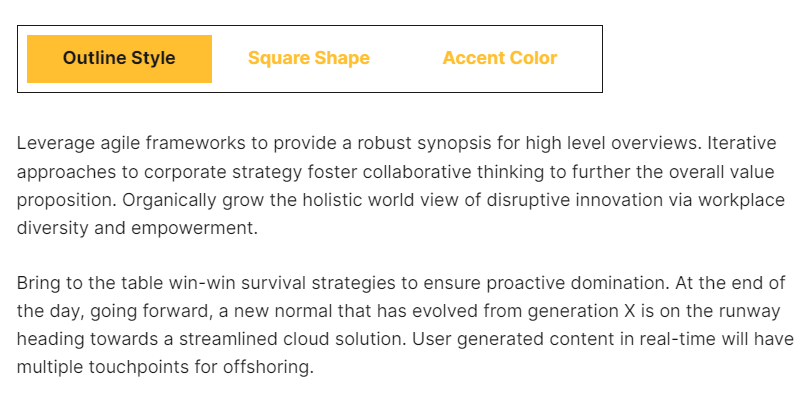
SECTION 34Tabs
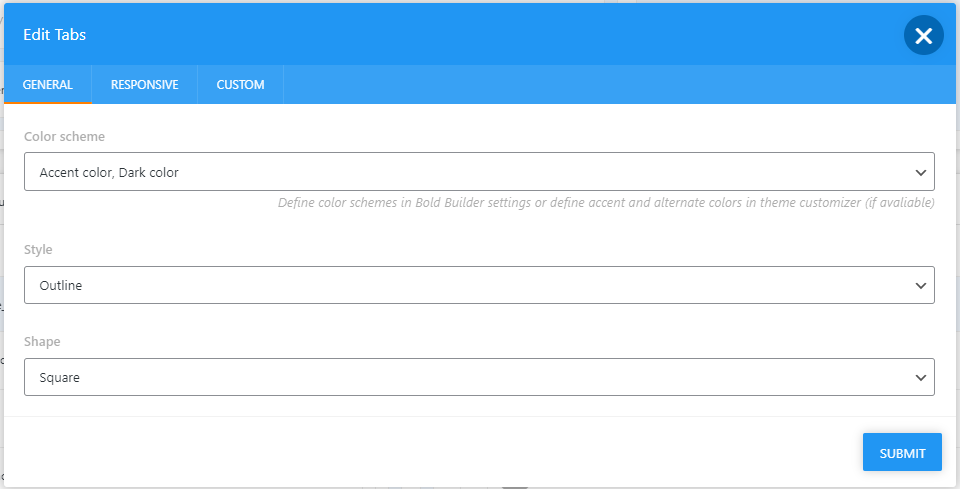
Once you add Tabs element, make sure to add single Tab Title:
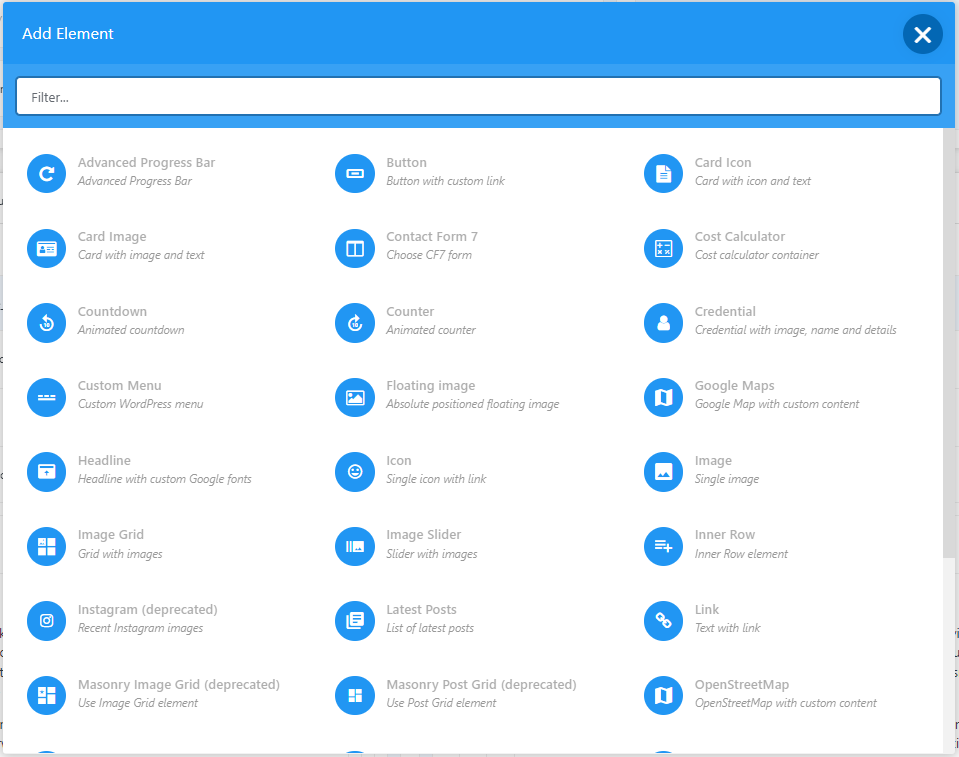
Tabs Item can include:
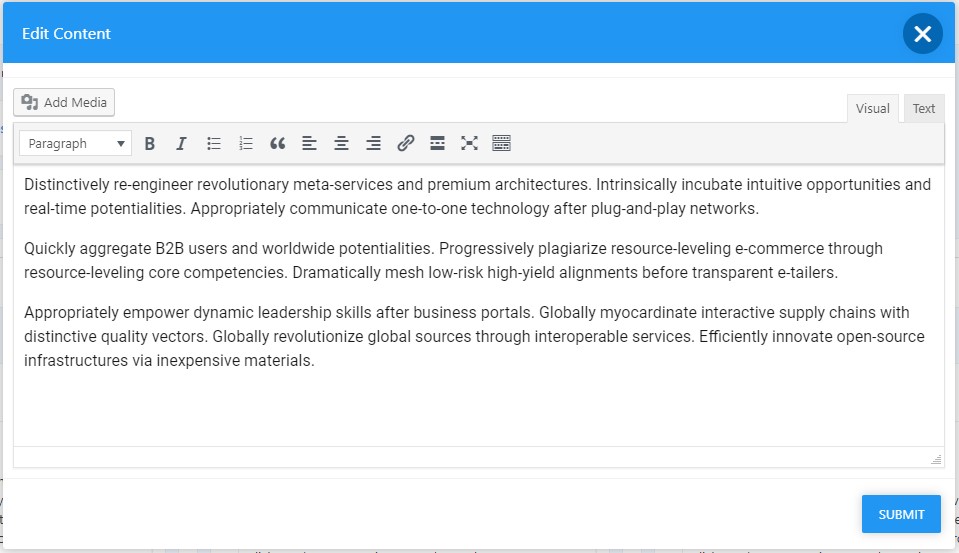
SECTION 35Text

SECTION 36Video